Barbecued Apples

OK, hear me out. I realize summer is over. The temperatures are dropping, and even though I'm clinging desperately to the last of my vegetables, the frost will soon win. But there's still time to barbeque before the snow falls! And what's better in October than freshly picked apples?

barbecued apple
barbecued apple

What you need:

4-6 Ontario apples
2 tbsp butter
1 tbsp brown sugar (or maple syrup, or honey!)
1/2 tsp cinnamon
pinch of icing sugar

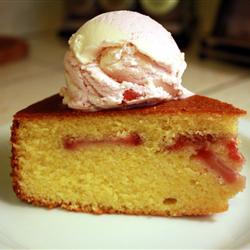
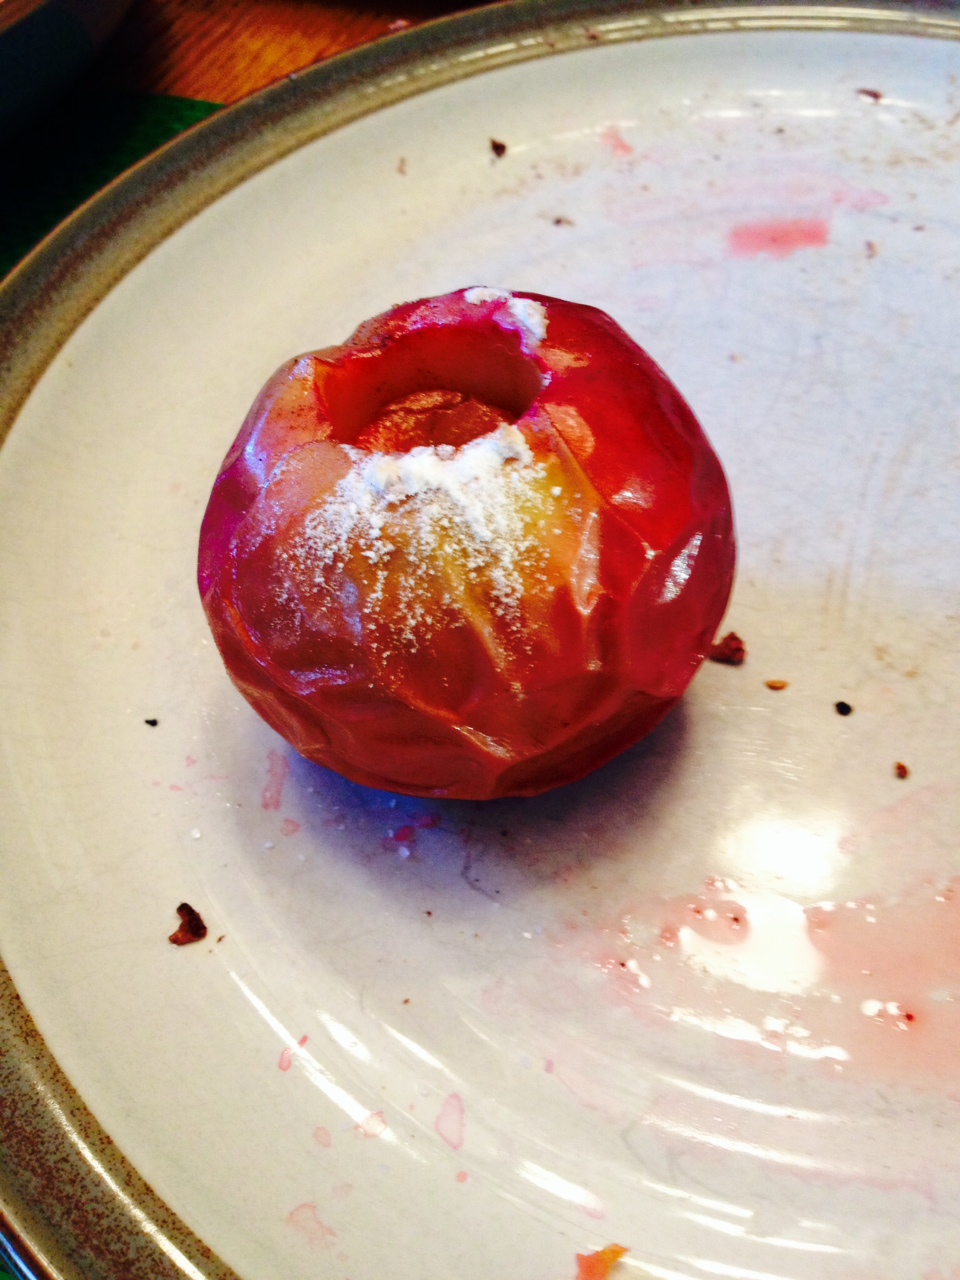
Core the top of the apples (you can leave the bottom intact so the sweet, gooey stuff doesn't drip out onto your barbecue). In a small bowl, mix the butter, brown sugar and cinnamon. Place a dab inside each apple. Put the apples on the bbq and cook until the skin is wrinkly - be careful they don't burn! Sprinkle with icing sugar and serve with vanilla ice cream.

Strawberries, strawberries, everywhere!

They're falling off the plants, and making their way onto our plates. I LOVE strawberry season. We try our very best not to purchase strawberries from the US, because it's just so lovely waiting for the delicious local strawberries to arrive in season. The flavour is so much better! Last night I scoured my recipe books for a quick strawberry cake I could make for dessert, and came across this one from Vegetarian Planet by Didi Emmons. If you're going for healthy, this is definitely not a good choice :) But, I did cut the sugar back to 3/4 cup, and it was definitely sweet enough!

strawberry cake

Cornmeal Strawberry Cake

1 1/3 cups cornmeal 2/3 cup unbleached white flour 1/2 tsp salt 1 tsp baking powder 3/4 cup unsalted butter, softened 1 1/4 cups sugar 4 large eggs, beaten 1 tsp vanilla extract 1/2 cup buttermilk (or yogurt) 1 cup sliced strawberries

Preheat oven to 350, and grease a 9 in cake pan. In a large bowl mix together cornmeal, flour, salt and baking powder.

In another bowl, mix butter and sugar (don't cream them). Stir in half the beaten eggs and mix. Stir in the rest of the eggs and mix well. Add the vanilla to the buttermilk. Add half the flour mixture to the egg mixture, and stir well (do not beat). Add the buttermilk and stir again. Then add the remaining flour mixture. Fold in the strawberries and pour the batter into the pan.

Bake for 45 to 50 minutes, until a knife inserted comes out clean.

Serve with ice cream, whipped cream or greek yogurt!

Cashew Sour Cream

Following my cashew yogurt post, we've still been experimenting at home with this yummy nut (but hey, did you know cashews aren't actually nuts? This article was so interesting to read!). My latest attempt has been to find a yummy vegan sour cream. After a few different attempts (there are SO many recipes out there!), I've found one that is incredibly tasty and kid-approved. Even my husband has given it "the nod" (you know, where they say "hey, not bad," but actually don't want to admit that you're right).

So give it a try, and let me know what you think!

1 cup raw cashews (soaked 4-6 hours, or overnight) juice from 1/2 lemon 2 tsps apple cider vinegar 1/4 cup filtered water 1/4 tsp sea salt

If you get raw cashew pieces, they soak really quickly. I put them in a bowl of water and use them several hours later. Rinse the cashews and throw them into your blender or food processor. Add all the other ingredients, and blend until very smooth and creamy. You might find there isn't enough liquid, so add 1 tbsp of water to see if that helps. This will store in the fridge for several days, and often gets thicker as it cools.

sour cream

Enjoy!

Enhanced by Zemanta

Lentils, Eh?

I'm slightly obsessed with lentils - they're quick, easy and I love supporting our Canadian lentil growers! But I realize not everyone is overly fond of the little bean. I'm married to one of those people *SOB* I remain convinced that I can convert the wayward lad, and bring him over to the land of plentiful little lentils.

Here's why I love lentils:

  • I just can't get over how easy lentils are to cook - no soaking necessary! They take on the flavour of any sauce/soup you put them in, and can be ground down to make fantastic dips. They're also lovely in salads!
  • A huge package of lentils will cost me $1.50, compared to the $10-15 (sometimes more!) I spend on a meal that includes chicken, pork or beef.
  • They're packed with fibre and protein and all sorts of healthy vitamins/minerals. If you pair lentils with a grain or cheese, you end up with a complete protein, something which is really important if you're eating vegetarian.

This is called Curried Red Lentil and Kale Soup, and was adapted from Living Without

2 tbsp veggie oil 2 cloves garlic, minced 1 small onion, diced 1 celery stalk, diced 1 large carrot, diced 2 medium potatoes, diced 1 tbsp tomato paste 1 tbsp curry powder 1 cup red lentils 1 cup chopped kale 4 cups veggie stock (I mixed 2 cups water, 2 cups veggie stock to cut down) 1/4 tsp ground coriander 1/8 tsp ground cumin 2 tsps lemon juice 1/4 cup coconut milk

In a large pot, heat oil over medium heat. Add the onion and garlic and cook for several minutes. Add the celery, carrot and potato and cook for 5 minutes until tender.

Add the tomato paste and curry powder, and cook for 30 seconds while stirring. Add the red lentils, stock, coriander and cumin. Bring to a boil, and then reduce heat to medium low. Cover the pot and simmer for 10 minutes.

Add the kale and cook for another 5 minutes.

Garnish with lemon juice and coconut milk and enjoy! Serve with freshly baked whole grain bread or naan bread.

Enhanced by Zemanta

Step-by-Step Instructions for Flour Tortillas

Kids seem to love flour tortillas - my daughter definitely prefers the thin, flexible flatbread to a traditional sandwich. They're also so versatile - you can stuff them with any kind of protein, tons of veggies, or use them for taco night.

flour-tortilla

But I have issues with store-bought tortillas. They're super soft, flexible and yummy, but only because they've been made with a number of additives and preservatives. Take, for example, this package of Old El Paso soft tortilla shells. If you click on the image, you'll be able to read the list of ingredients - the ones that concern me are basically everything but the flour, water and baking powder!

So I set out to make my own flour tortillas. I've heard that this can be really difficult, but other than the 45 minutes I need to get it done, I have had an easy time of it! Most likely it's the recipe I use, but I think more than anything, it's the instructions. So here I've included pictures of the process, as well as detailed instructions. This has gotten easier the more I've done it, and I find it's not taking me as much time. A full batch yields enough to last us about a week as a family of four. I call Sunday my "tortilla making day" :)

Ingredients

  • 4 cups of all-purpose flour

  • 1 tsp baking powder

  • 1 tsp salt

  • 2 tbsps of room temp butter, cut into cubes

  • 4 tbsps of vegetable oil shortening (a healthier choice would be lard!)

  • 1.5 cups of warm water

Step 1: Mix flour, baking powder and salt in a large bowl. Cut butter and shortening into smallish cubes and throw into your bowl of flour

Step 2: Use a pastry cutter (or your hands, or 2 knives) to cut the fat into the flour. You want to do this enough that you end up with little pea-sized pieces of fat mixed in with the flour. Doesn't take much!

Step 3: Slowly pour in 1.5 cups of warm water, mixing as you go. I start with a wooden spoon, and then use my hands as the dough starts to form. Note: the dough will stick together, but it's ok if it's a bit flaky. If it's too sticky and wet, add 1 tbsp more flour. If it's too dry and won't form a ball, add 1-2 tbsps more water.

Step 4: Cover the dough with a damp tea towel, and go make yourself a cup of tea

Step 5: Separate the dough into 16 balls. Cover again with the towel while you heat up a non-stick frying pan on HIGH heat.

Step 6: sprinkle your surface with flour. I like to use a pastry mat!

Step 7: Roll out your dough. It's very important that you get it VERY THIN...if it sticks to the mat, just sprinkle with a bit more flour

Step 8: Throw it into your hot pan, and watch it rise and bubble. Depending on how hot your pan is, this could take a mere 15 seconds or 45 seconds. Watch very closely, as they burn within seconds! Flip it once it bubbles, and toast on the other side for 10-15 seconds.

Step 9: Repeat! I've gotten good enough that I can throw one in the pan, and roll out another by the time that one has cooked. It takes practice :)

Step 10: Eat and enjoy! (tortillas freeze really well - we put waxed paper in between each one so that they don't stick or break)