by Maranda
I rarely buy packaged snacks for my kids. They are generally not good for their health, our grocery budget or the environment. Instead we buy things in bulk and package them up in reusable containers, and I bake snacks for them to take to school. That way I know exactly what they’re eating, while at the same time teaching them to be eco-conscious and saving money.
This year I’m packing three lunches every day, so I’ll be baking an awful lot! I got a head start on things before school started and continue to stash things away in the freezer. I know kids will get bored eating the same thing day after day, so I bake specifically for the freezer or I’ll bake a double batch of something and freeze half for later. I try to keep at least two to four different items in there for them to choose from when making their lunch.
Wrap individual portions (one muffin, two cookies, etc.) in plastic wrap, then place in a freezer bag and squeeze the air out. Mark the bag with item name and date baked, and use within 2-3 months. If you make lunches the night before, baked goods will be thawed by lunch time the next day.
Here are a few of my boys’ favourite lunch box snacks:
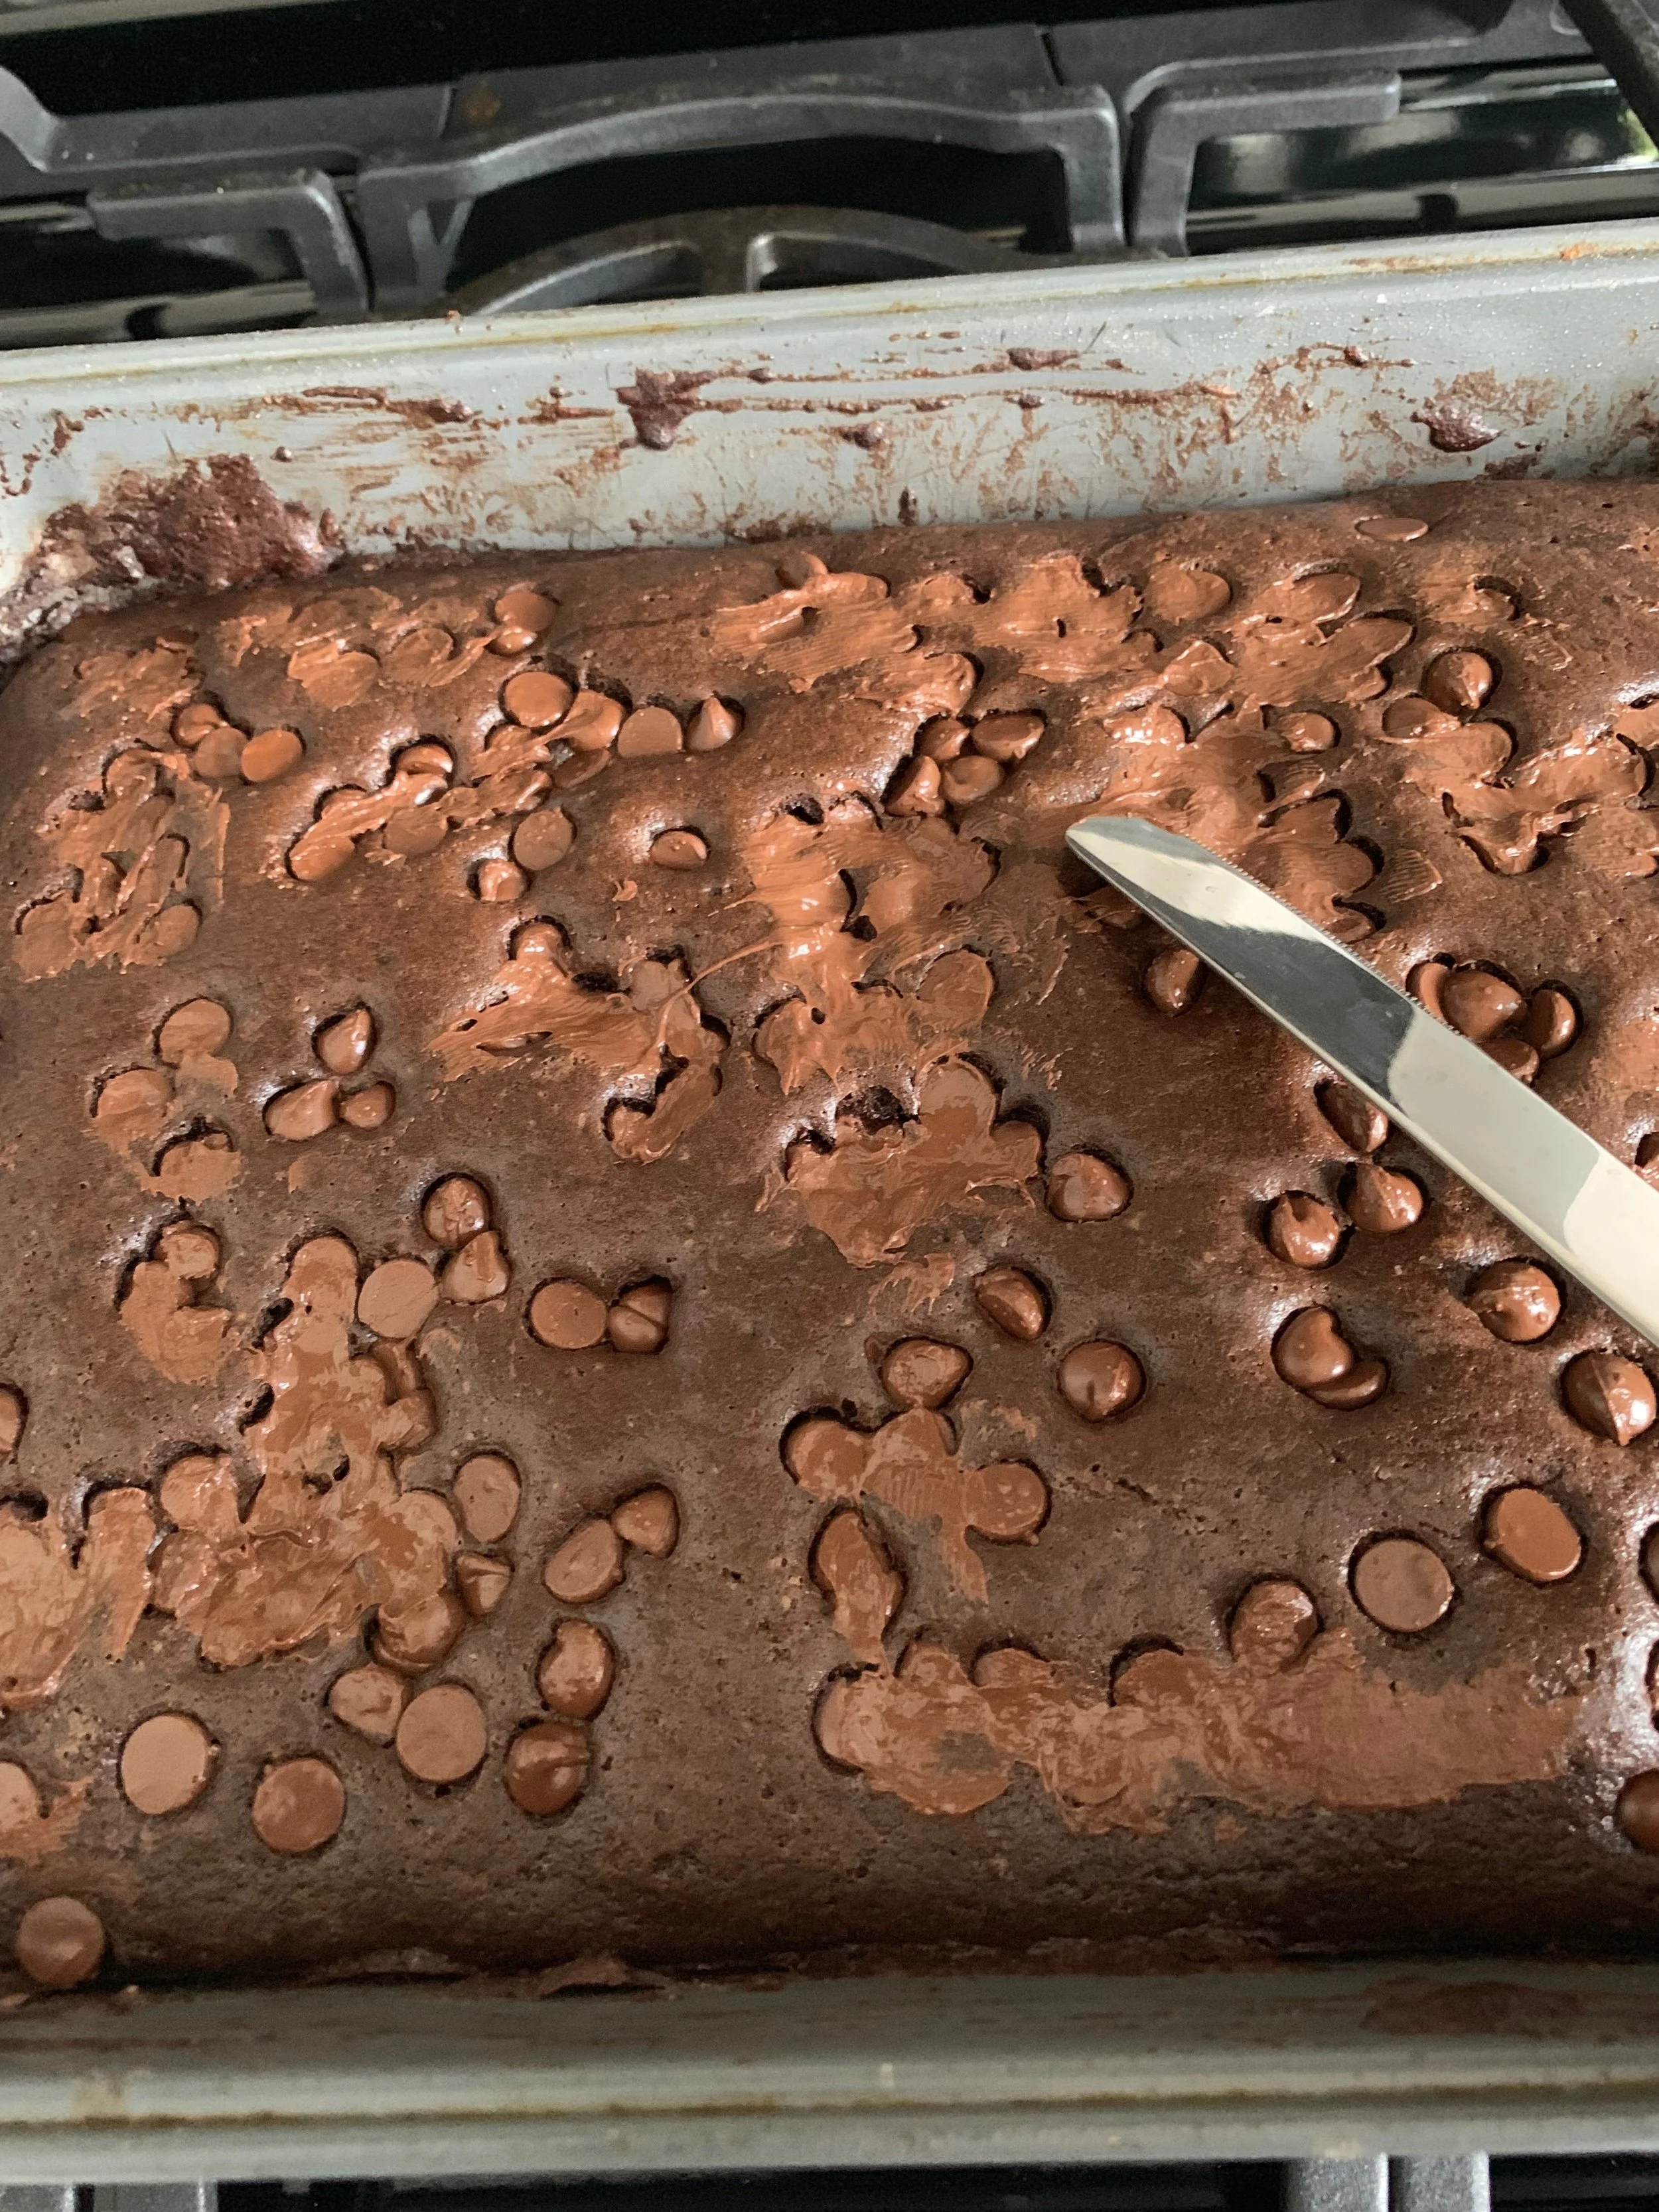
Pumpkin Chocolate Chip Cookies: Truly a lunch staple in our house, these soft and cake-like cookies are delicious and freeze very well. The addition of pumpkin and white bean puree do double duty by making them super moist and sneaking in vitamins and fibre. The kids love them, and so do I.

Whole Wheat Carrot Raisin Waffles: These waffles are very dense, and my kids enjoy them equally well as a snack. I cut them in eighths with kitchen shears and freeze four wedges in a package. Also makes a great lunch; send a container of yogurt or apple sauce to dip them in.
Carrot and Ginger Mini Muffins: Yummy carrot, cinnamon and ginger muffins are delicious and pack a nutritional punch with lots of vitamins and antioxidants. Use the finest size on your grater so the vegetables are not too suspiciously chunky.
Cranberry Breakfast Cookies: My four year old and I dubbed these “Bulk Barn Cookies” because that’s where we bought all the ingredients, and they do have a lot of ingredients! Loaded with oats, cereal (my variation, original recipe calls for almonds), sunflower seeds and cranberries these delicious cookies are a great alternative to granola bars.
And for the last decade I have been making these mini muffins regularly. I don’t know now where the recipe came from or what they were originally called, but they were a favourite of my son Julian since we was a wee guy and they’ve long been known as “Julian Muffins” in our family. When he was in half day kindergarten we used to bake them together regularly before school, and he still enjoys helping to this day.
Carrot and Zucchini Mini Muffins
¼ cup (50 mL) vegetable oil
½ cup (125 mL) brown sugar
1 egg
¾ cup (175 mL) applesauce
1 cup (250 mL) grated carrots
1 cup (250 mL) grated zucchini
1 cup (250 mL) all-purpose whole wheat flour
¾ cup (175 mL) all-purpose flour
2 tsp (10 mL) baking powder
1 tsp (5 mL) cinnamon
½ tsp (2 mL) nutmeg
½ tsp (2 mL) salt
Preheat oven to 400°F (200°C). In a large bowl, whisk together oil and sugar. Beat in egg, then applesauce. Stir in carrots and zucchini.
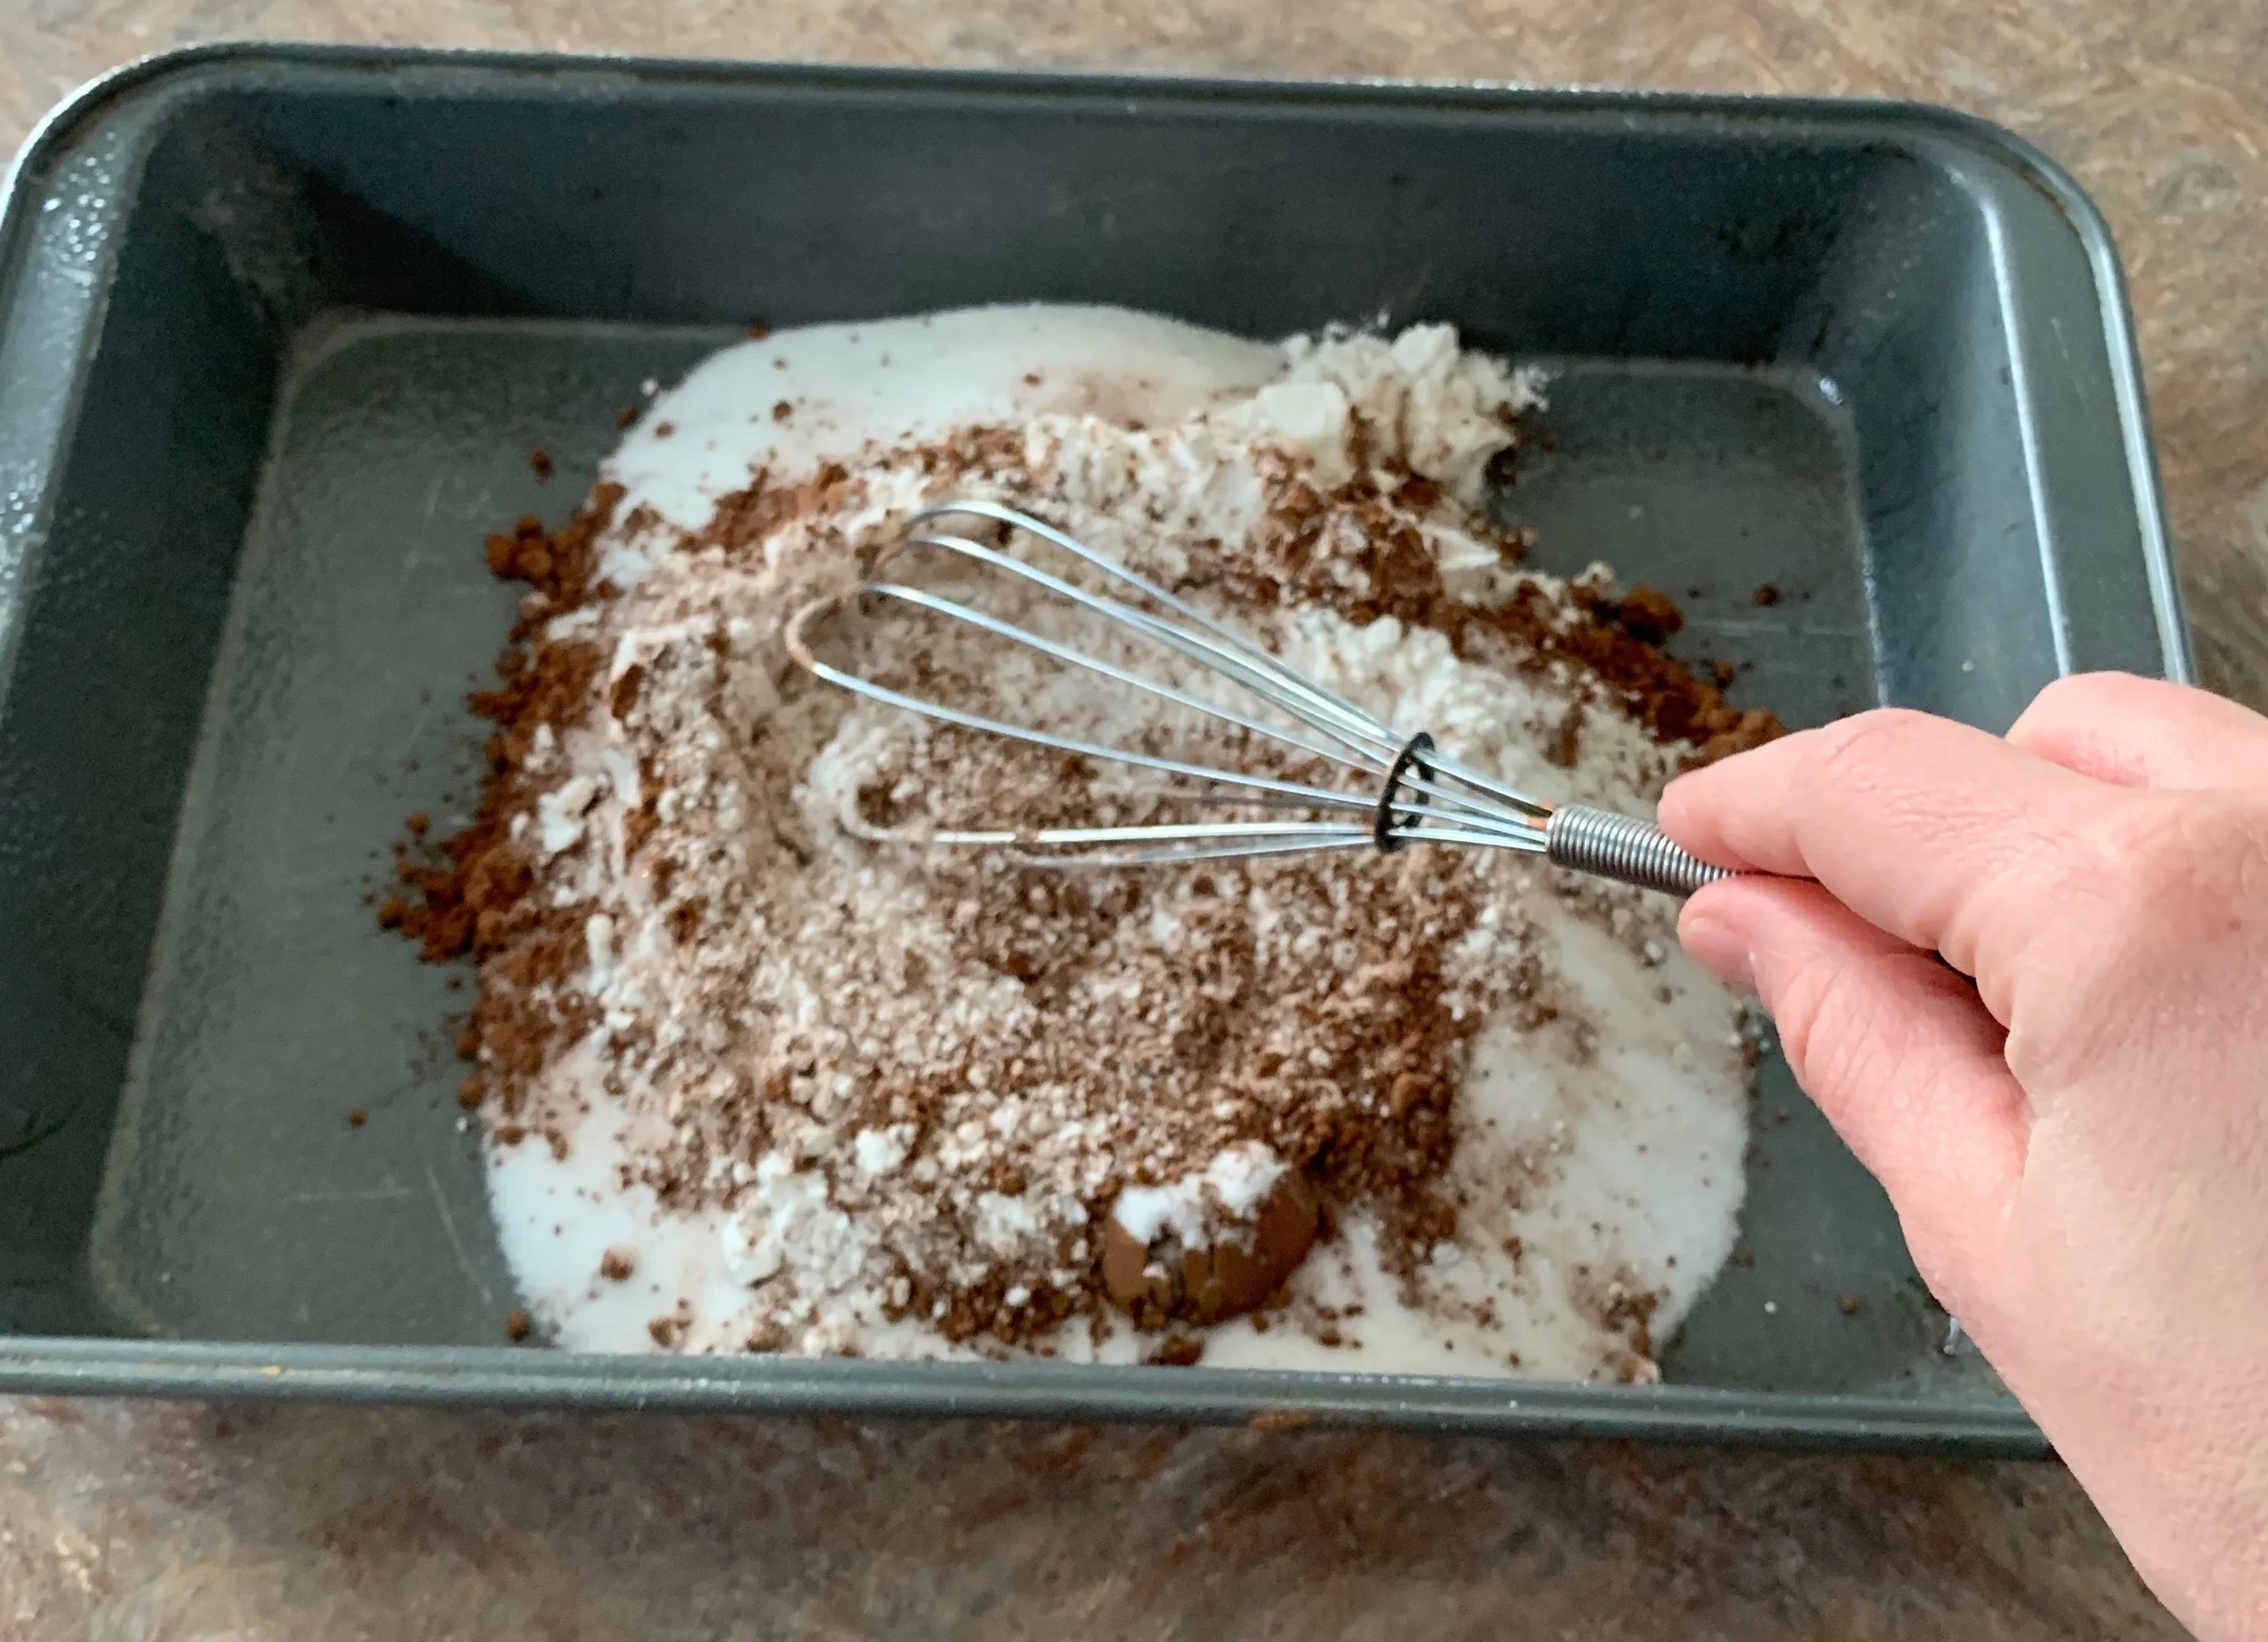
2. In another large bowl, whisk together flours, baking powder, cinnamon, nutmeg and salt.
3. Fold dry ingredients into wet, until just mixed. Spray 2 mini-muffin trays (24). Spoon batter to the very top of muffin cups (they will be very full) and bake 15 to 18 minutes or until a toothpick or cake tester comes out clean when inserted in a muffin.
What kinds of snacks do send in your kids' lunches?

Maranda Carvell is a mom of four, nutrition advocate and stealthy chef. When she's not blogging and writing for Pathways To Life, you can find her tweeting about family, gaming, Ottawa and more as @HotelQueen.


 When you start thinking about Christmas shopping, I'm sure the first place you think to go is the farmers' market, right? Well, perhaps it should be on your list! This year is the first time I've gone out to the farmers' markets around Ottawa on a regular basis and I can tell you I'll be out even more next year than I was this year. Recently, I took my husband (Matt) and son (Brandon) out to the
 Sure, you find the usual treats and delicacies at every market - like fresh vegetables and fruits, as well as a plethora of baked goods that will make you hungry just looking at them.
 The first table we stopped at was a huge reason I wanted to make this return trip to North Gower (Brandon and I were out earlier in the summer). Simply Whimsy Greetings & Gifts' owner, Tara, has a beautiful lineup of products - necklaces, bracelets and earrings as well as greeting cards. And while I was truly looking for ideas for others, I must admit I was adding a couple items to my own wish list. :)


 I never had a Raggedy Anne or Andy doll, but I've always liked them. The woman who was selling them amongst her other products - runners, napkins, placemats, Christmas decor - didn't have a business card, but she's there at the farmers' market every week and her work is beautiful.


