Nuts and Bolts - A Gift For The Snacker In Your Life

Looking for a little extra something for a gift basket?  Think that a tin of something snacky would be the perfect gift for the mailman or bus driver on your Christmas list?  Want a dish of something nibbly to leave out on the coffee table at your holiday gatherings?  The possibilities are endless!  (Or you could just make it and eat it all yourself!)

100_2736

This is such and easy recipe that it is a great for the kids to help. And you really don't have to have any cooking or baking skills to pull this off!

Nuts and Bolts

8 cups Cheerios 8 cups Shreddies 8 cups Corn Pops 2 cups pretzels 2 cups peanuts 3/4 cup of butter 2 tsp of each: salt, summer savoury, marjoram, garlic powder 1/2 tsp onion powder 1/4 tsp ground pepper

Start by layering half of each type of cereal , pretzels and peanuts in a LARGE oven proof pan, I use my large roasting pan. Then layer the other half of everything on top.

100_2740

Mix the spices all together in a small dish and then sprinkle on top of the cereal mix. Slice half of the butter in thin slices and place on top of everything. 100_2741

100_2743

Cover your pan, place in the oven at 250 F for 15 minutes. Remove from oven, mix well. I like to shake the roast pan and carefully turn it upside down and shake. Slice and add the rest of the butter on top. Place in the oven for 15 minutes. Mix well and put in the oven for a final 15 minutes. Let cool throughly before packaging or storing in air tight containers.

Put some in a Christmas tin from the dollar store and you've got a perfect little gift for someone. 100_2745

Our sixth winner of a Family Pass to the Canadian Mint is Sarah S!

If you leave a comment on any post for the duration of the giveaway, you are entered to win. Additional comments are not required and won't increase your chances of winning (though they are always welcome).

HOW TO ENTER

Royal Canadian MintWe are going to be giving out one pass a day for the next 6 days. To enter leave a comment on any one of the giveaway posts or tweet about the giveaway:

I’d love to win a family pass to the @canadianmint from #kidsinthecapital this holiday season!  http://www.kidsinthecapital.ca/?p=6655

Only one entry will count and you can only win once.

Winners will be picked each day from all comments and tweets received by 8:00pm. If you'd like to know more about this giveaway and the Canadian Mint, please read our introduction post.

Now, tell us your favourite edible gifts to give (or get)!?

Recipe: Give the gift of Apple Crumble!

by Amanda I love this recipe, it's a great idea for a little giveaway for the holidays, relatively inexpensive and very easy to do on a Sunday afternoon.

Apple pie filling

2 1/4 cups granulated sugar 1/2 cup cornstarch 1 tsp ground cinnamon 1/4 tsp ground nutmeg 1/2 tsp salt 5 cups water 1 1/2 tbsp lemon juice 1 lb granny smith apples, peeled, cored & sliced

Place a rack in the bottom of a large stock pot. Fill pot with hot water. Sterilize 5 x 1 pint canning mason jars, 5 lids and 5 rings by placing on rack, jars upright. Bring water to a boil.

Boil 10 minutes and remove with a holder and allow jars to air-dry.

Combine sugar, cornstarch, cinnamon, nutmeg, salt and water in a large saucepan. Place over high heat and cook until thick and bubbly, stirring frequently.

Remove from heat and stir in lemon juice.

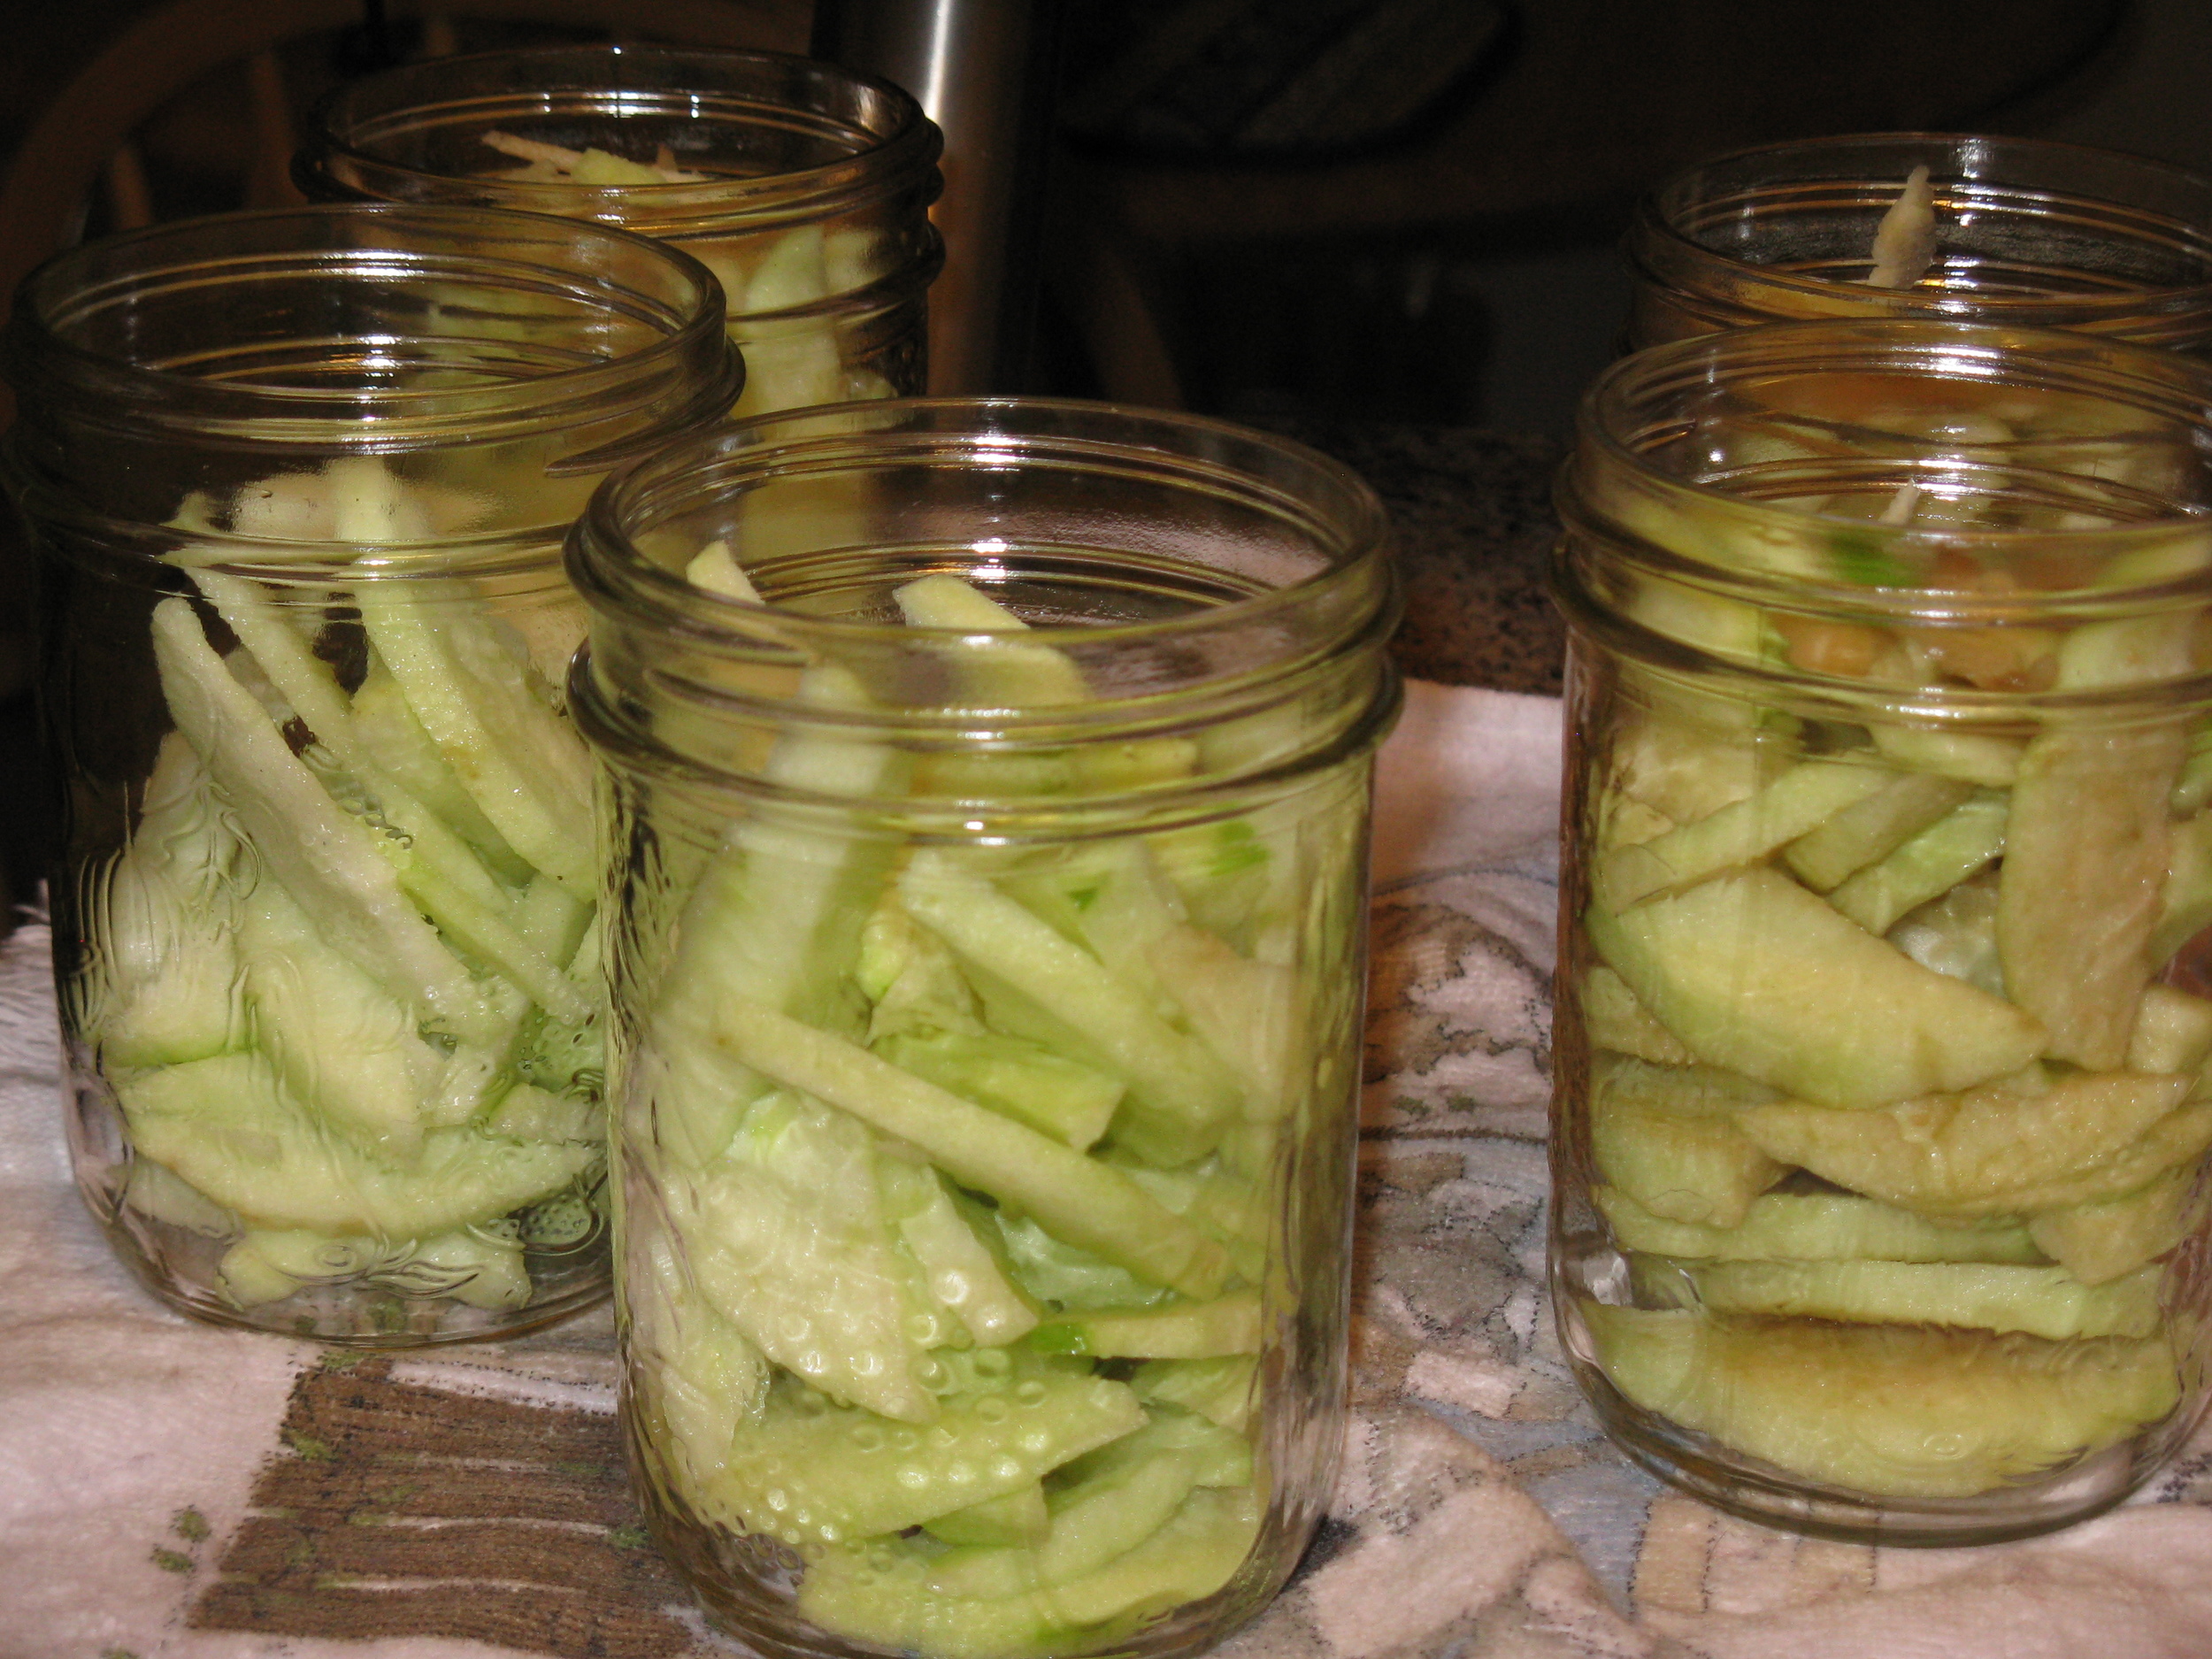
Tightly pack apples into sterilized jars. Slowly pour syrup over apples, covering them completely. Gently tap jars on countertop to allow air bubbles to rise. Screw lids on jars.

Carefully lower jars into pot using a holder. Add more boiling water if necessary, until tops of jars are covered by 2 inches of water.

Bring water to a full boil, cover and let stand for 30 minutes.

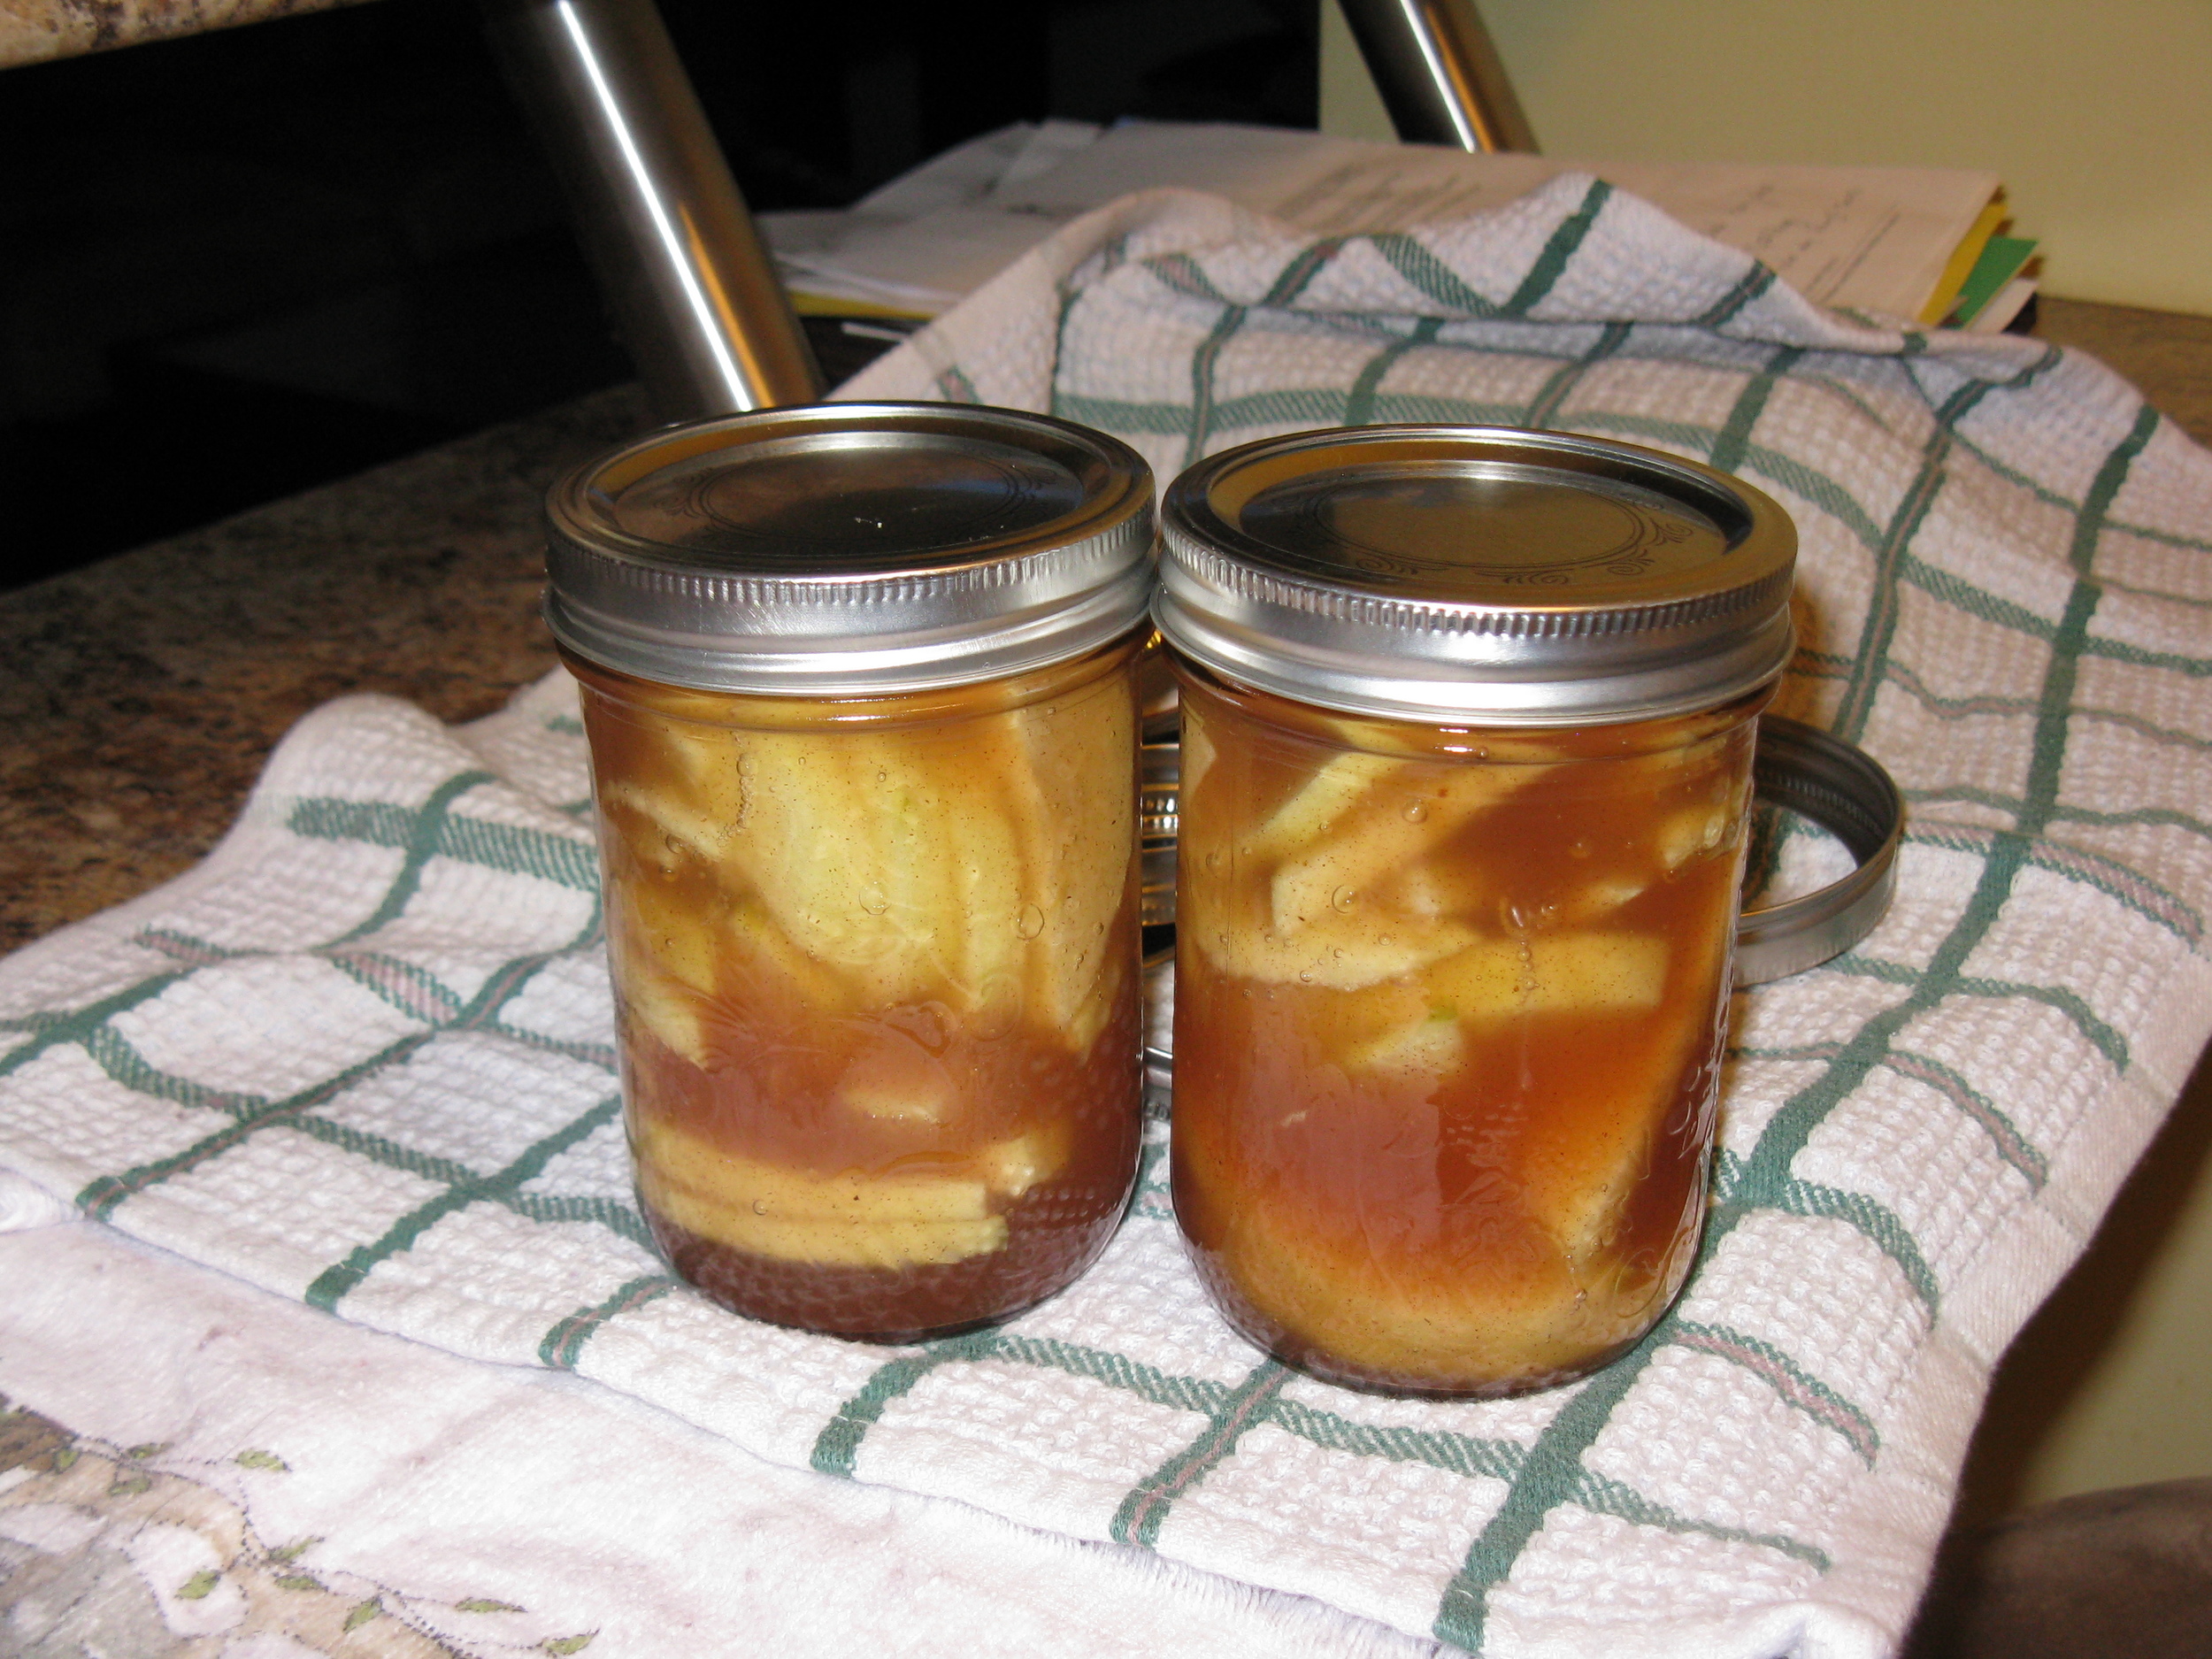
Remove jars and place on cloth covered surface until cool.

Once cool, press top of each lid with finger, ensuring that seal is tight - lid doesn’t move up or down at all. Sealed jars can be stored for up to a year.

Crumble Topping

3 cups brown sugar 2 cups oatmeal 1 1/3 cups all purpose flour 4 tsp cinnamon 1 cup butter

Combine brown sugar, oatmeal, flour and cinnamon in a bowl. Cut in the butter until crumbly. Package in cellophane bags.

What's your favorite Christmas gift to make?

Amanda was born and raised in Ottawa where she continues to live with her husband and son “J”. Amanda is bilingual and interests include reading, blogging, socializing, and advocacy on children and teen issues.

Canadian Mint Family Pass Giveaway

Our second winner of a Family Pass to the Canadian Mint is Sherry!

Methodology: Tweets and comments are put in chronological order and a random number is generated by Random.org. The number today was 4.

HOW TO ENTER We are going to be giving out one pass a day for the next 10 days.  To enter leave a comment on the post from that day or tweet the following:

I’d love to win a family pass to the @canadianmint from #kidsinthecapital this holiday season!  http://www.kidsinthecapital.ca/?p=6700

You can enter every day, but you can only win once. One entry per day per family.

Winners will be picked each day from all comments and tweets received by 8:00pm of the same day. If you'd like to know more about this giveaway and the Canadian Mint, please read our introduction post.

Homemade Pizza

by Nicki Who doesn't love pizza? I know it is a favourite for all of us in this house.  So, last weekend, we decided to try making homemade pizza.  I have fond memories of making pizza at home when we were kids, so naturally, my first thought was how to get Liam involved in the process and make this a fun family dinner for start to finish!

Having just woken up from his nap, Liam was much more interested in his juice than in mixing and kneading pizza dough, however, watching yeast rise is really cool and a good science lesson for older kids.

100_2341

Once the dough was mixed, kneaded and risen, Liam was ready to help.  He had a blast punching down the dough and was thrilled to get to use my marble rolling pin to roll out the dough.  It is one of those things on the counter that he always wants to play with!

100_2355

Then, he used a spoon to "paint" the crust with pizza sauce.  He is very artistic!!

100_2359

My favourite part, the toppings were added next.  We kept it pretty simple, lots of meat (pepperoni, salami and ham), tomatoes, mushrooms and cheese.

100_2360 100_2367

In order to make this a true family cooking experience, the pizza was then presented to Henry to be BBQed.

100_2369

After about fifteen minutes on the BBQ, the pizza was cooked and ready to eat.  It was delicious and we all had fun making it.  Homemade pizza will become a frequent dinner menu item at our house from now on.

100_2373

Pizza Crust Recipe

  • 1 cup warm water
  • 2 tsp sugar
  • 1 tbsp yeast

Dissolve sugar in water.  Sprinkle yeast on top. Let sit for 10 minutes.

  • 4 tbsp oil
  • 2 tsp salt
  • 2 1/2 cups flour

Add yeast mixture to dry mixture and stir together.  Knead for 10 minutes.  Let rise until doubled, approximately 45 minutes.

Punch down, roll flat and press into pan.

Add your choice of sauce and toppings.

Bake or BBQ at 350 degrees for 15 to 20 minutes.

This recipe makes the perfect amount of dough for a large cookie sheet.

*****

Nicki is a working mom of one two-year-old boy, Liam. She is an Early Childhood Educator and in her spare time, volunteers for New Moon Rabbit Rescue and as a Brownie Leader with Girl Guides of Canada. She loves to garden, scrapbook and write! You can read more about Nicki on The Perils of a Working Mom.

Healthy School Snacks

by Maranda I rarely buy packaged snacks for my kids. They are generally not good for their health, our grocery budget or the environment. Instead we buy things in bulk and package them up in reusable containers, and I bake snacks for them to take to school. That way I know exactly what they’re eating, while at the same time teaching them to be eco-conscious and saving money.

This year I’m packing three lunches every day, so I’ll be baking an awful lot! I got a head start on things before school started and continue to stash things away in the freezer.  I know kids will get bored eating the same thing day after day, so I bake specifically for the freezer or I’ll bake a double batch of something and freeze half for later.  I try to keep at least two to four different items in there for them to choose from when making their lunch.

Wrap individual portions (one muffin, two cookies, etc.) in plastic wrap, then place in a freezer bag and squeeze the air out. Mark the bag with item name and date baked, and use within 2-3 months. If you make lunches the night before, baked goods will be thawed by lunch time the next day.

Here are a few of my boys’ favourite lunch box snacks:

Pumpkin Chocolate Chip Cookies: Truly a lunch staple in our house, these soft and cake-like cookies are delicious and freeze very well. The addition of pumpkin and white bean puree do double duty by making them super moist and sneaking in vitamins and fibre. The kids love them, and so do I.

Whole Wheat Carrot Raisin Waffles: These waffles are very dense, and my kids enjoy them equally well as a snack. I cut them in eighths with kitchen shears and freeze four wedges in a package. Also makes a great lunch; send a container of yogurt or apple sauce to dip them in.

Carrot and Ginger Mini Muffins: Yummy carrot, cinnamon and ginger muffins are delicious and pack a nutritional punch with lots of vitamins and antioxidants. Use the finest size on your grater so the vegetables are not too suspiciously chunky.

Cranberry Breakfast Cookies:  My four year old and I dubbed these “Bulk Barn Cookies” because that’s where we bought all the ingredients, and they do have a lot of ingredients! Loaded with oats, cereal (my variation, original recipe calls for almonds), sunflower seeds and cranberries these delicious cookies are a great alternative to granola bars.

And for the last decade I have been making these mini muffins regularly. I don’t know now where the recipe came from or what they were originally called, but they were a favourite of my son Julian since we was a wee guy and they’ve long been known as “Julian Muffins” in our family.  When he was in half day kindergarten we used to bake them together regularly before school, and he still enjoys helping to this day.

Carrot and Zucchini Mini Muffins

¼ cup (50 mL) vegetable oil ½ cup (125 mL) brown sugar 1 egg ¾ cup (175 mL) applesauce 1 cup (250 mL) grated carrots 1 cup (250 mL) grated zucchini 1 cup (250 mL) all-purpose whole wheat flour ¾ cup (175 mL) all-purpose flour 2 tsp (10 mL) baking powder 1 tsp (5 mL) cinnamon ½ tsp (2 mL) nutmeg ½ tsp (2 mL) salt

Preheat oven to 400°F (200°C). In a large bowl, whisk together oil and sugar. Beat in egg, then applesauce. Stir in carrots and zucchini.

2.    In another large bowl, whisk together flours, baking powder, cinnamon, nutmeg and salt.

3.    Fold dry ingredients into wet, until just mixed. Spray 2 mini-muffin trays (24). Spoon batter to the very top of muffin cups (they will be very full) and bake 15 to 18 minutes or until a toothpick or cake tester comes out clean when inserted in a muffin.

What kinds of snacks do send in your kids' lunches?


maranda

Maranda Carvell is a mom of four, nutrition advocate and stealthy chef. When she's not blogging and writing for Pathways To Life, you can find her tweeting about family, gaming, Ottawa and more as @HotelQueen.

Enhanced by Zemanta

A veggie bread they'll love

by Krista When I first saw this recipe posted on @refashionista's blog I knew I had to try it. It's a recipe for bread that makes use of your leftover veggies. It looked very simple, and her description really sold it. I knew that I would love it, but secretly hoped the lils would too, so that I could get a few more portions of vegetable into them.

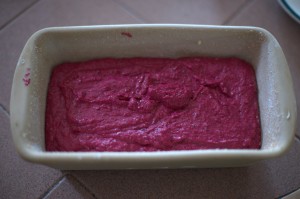
I was so excited to try this recipe that I actually bought and cooked far too many beets for our family. Armed with the leftovers the next day, I asked the lils if they wanted to make beet bread. They jumped at the idea, and even started singing a song that sounds remarkably like the Batman tune... "na-na-na-na-na-na-na-naaaa beet bread!" They knew what was going into it, yet were still excited. It might be because I compared it favourably to banana bread, or it might have been that it look like this just prior to going in the oven:

They sampled within minutes of it coming out of the oven, and were instantly in love. I get asked at least weekly to make beet bread and willingly oblige, as I love it too. You can make the recipe with any leftover vegetables, but truth be told I've never tried!

@Refashionista's Beet Bread (slightly modified by me)

1 cup white flour 3/4 cup whole wheat flour 1 tsp baking soda 1/4 tsp baking powder 1/2 tsp cinnamon 3/4 - 1 cup sugar 1/3 cup salted butter, softened 2 eggs 1 cup mashed/pureed cooked beet 1/3 cup milk

-preheat oven to 350

- stir together flours, baking soda, baking powder and cinnamon. Set aside.

- beat together sugar, butter and eggs until light and fluffy.

- blend in beets.

- add dry ingredients and milk, alternating, in three additions. Be careful not to overbeat.

- pour into a greased and floured loaf pan and bake for 50-60 minutes (until a toothpick comes out dry when testing).

My lil helpers. Woo is singing the beet bread song!

Krista is married to Willy and mom to a 4 year old son, Woo, and 2.5 year old daughter, Goose. You can find her at Life in the Hutch or on Twitter @kgraydonald