Rice Art

by Erin

I like to do glitter art with my niece Rhen - you know the kind: draw an image, spread some glue over a part of the image, sprinkle an appropriately colour glitter on the glue, continue with other parts/colours until the image is complete.

Rhen is in school now, and Xavier comes over two days a week to spend the day with Auntie Erin. Xavier is only 20 months old, and glitter is a bit beyond his skill set; instead of making art, we wind up just making a HUGE mess that is impossible to vacuum up afterwards. Another major concern I have about using glitter with very young children: the particles are too fine and could pose a choking hazard if they are ingested or inhaled.

Introducing rice art:

Step 1: Using the technique in the Rice Sandbox Tutorial make some coloured rice.

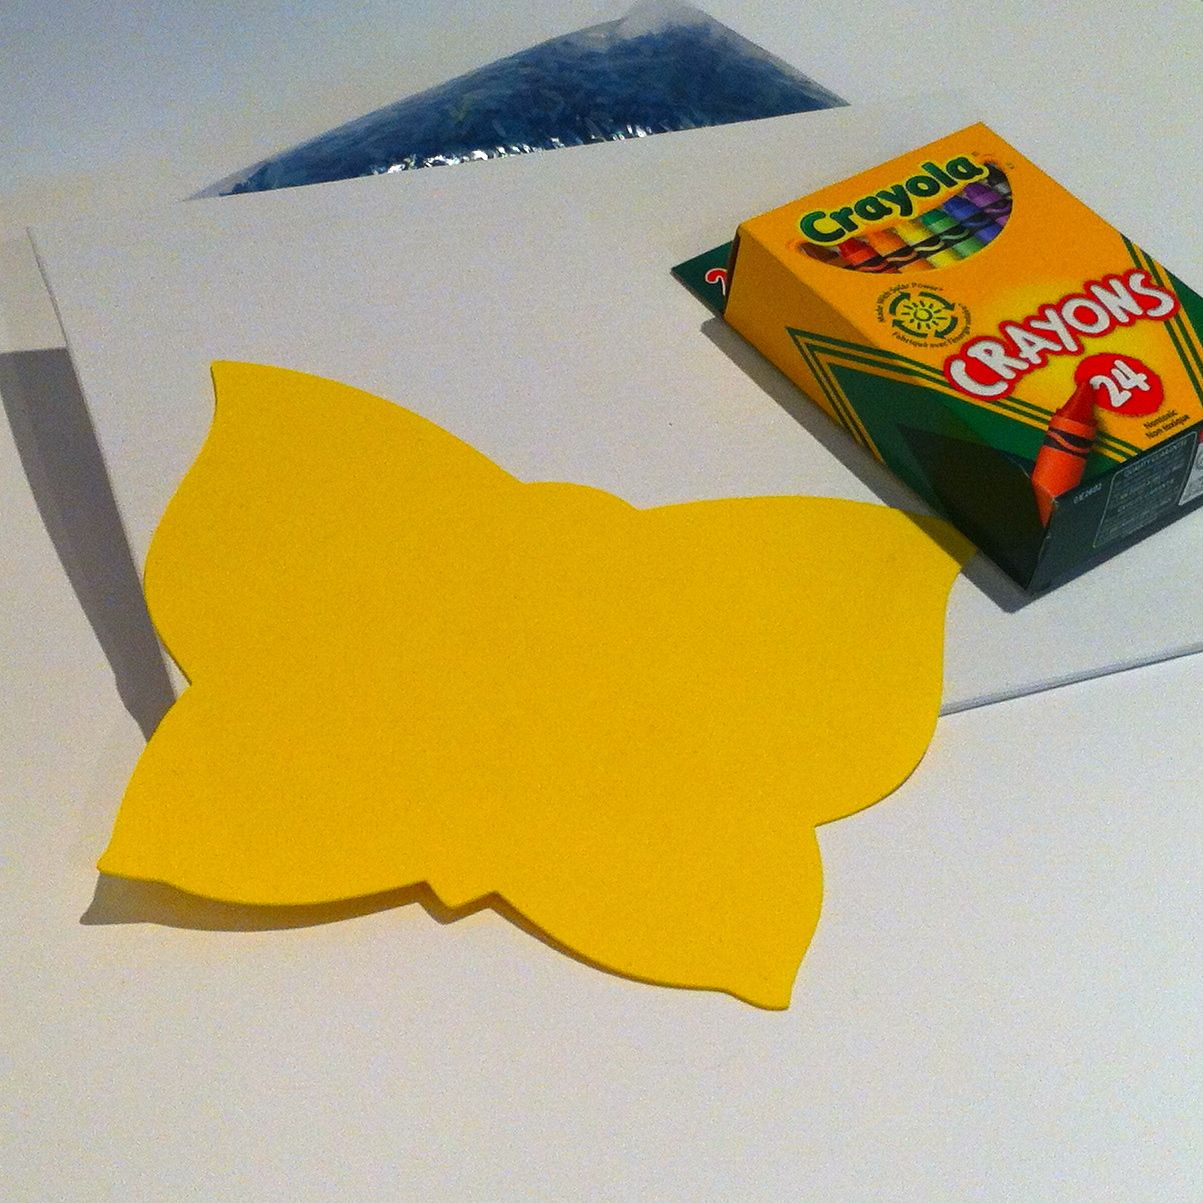
Other materials required: a small canvas board, a foam art shape, crayons, coloured pencils, markers or paint, craft glue.

Rice Art1
Rice Art1

Depending on the child's skill level you will need to help with some or all of the steps.

  1. Use the crayons, coloured pencils, markers or paint to create a background on the canvas board. If using markers or paint, allow to dry completely before moving on to the next steps.

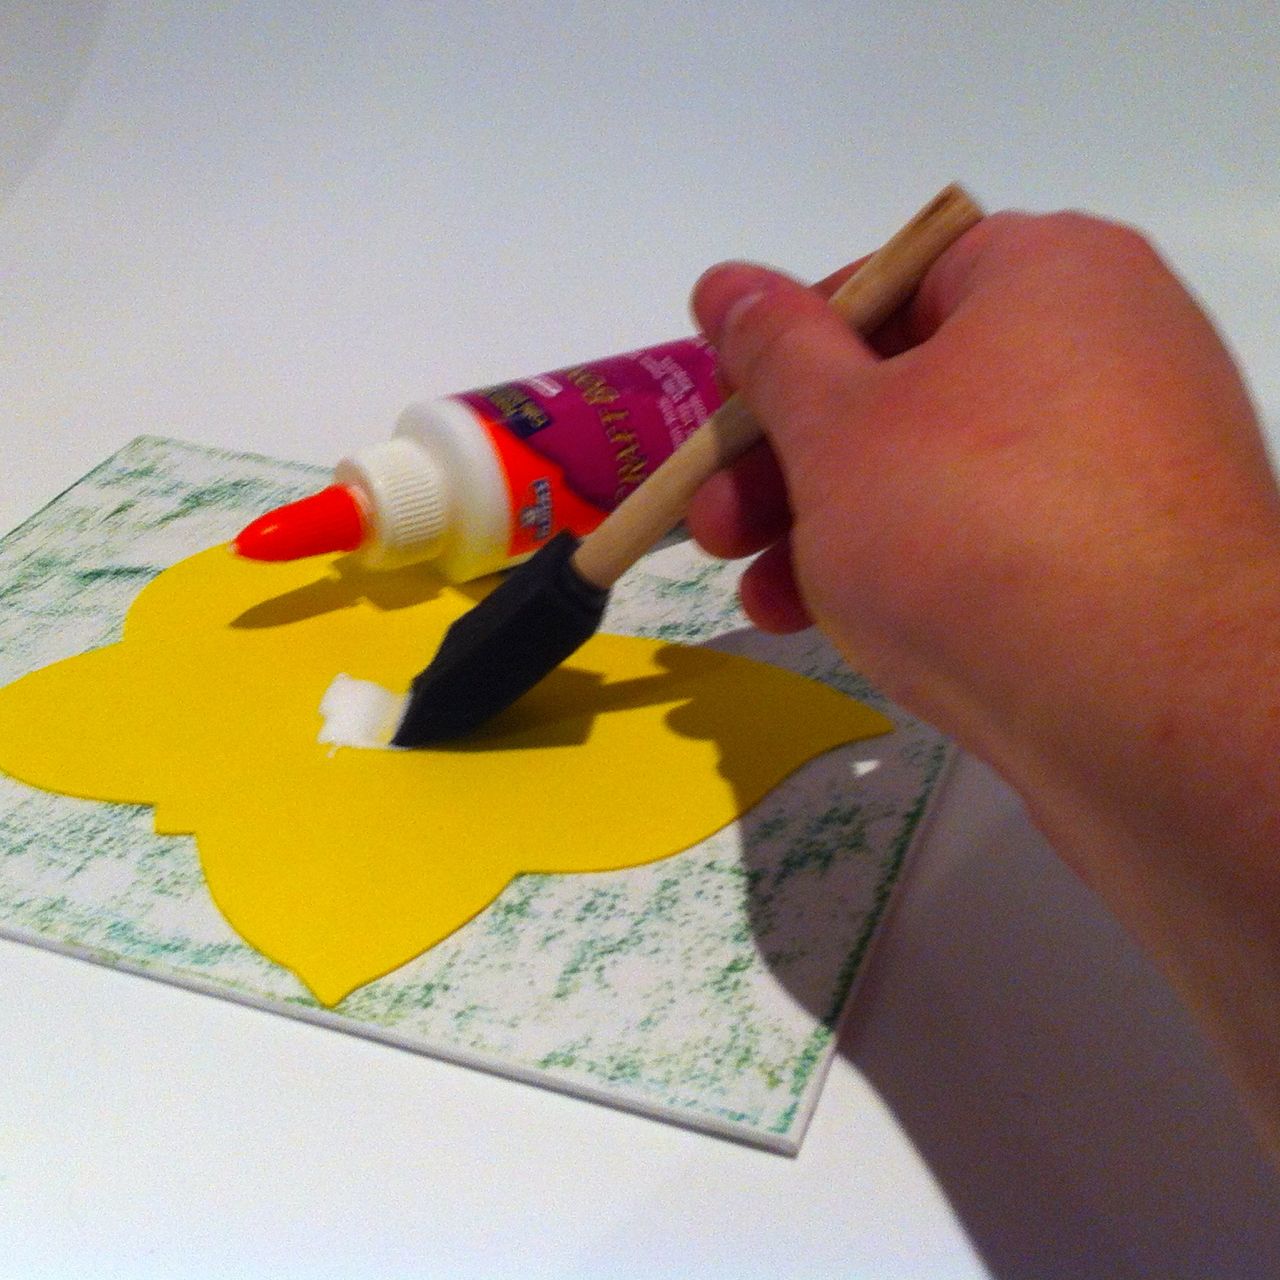
2. Adhere the foam art shape to the canvas board with craft glue.

3. Spread a generous layer of craft glue over the foam art shape.

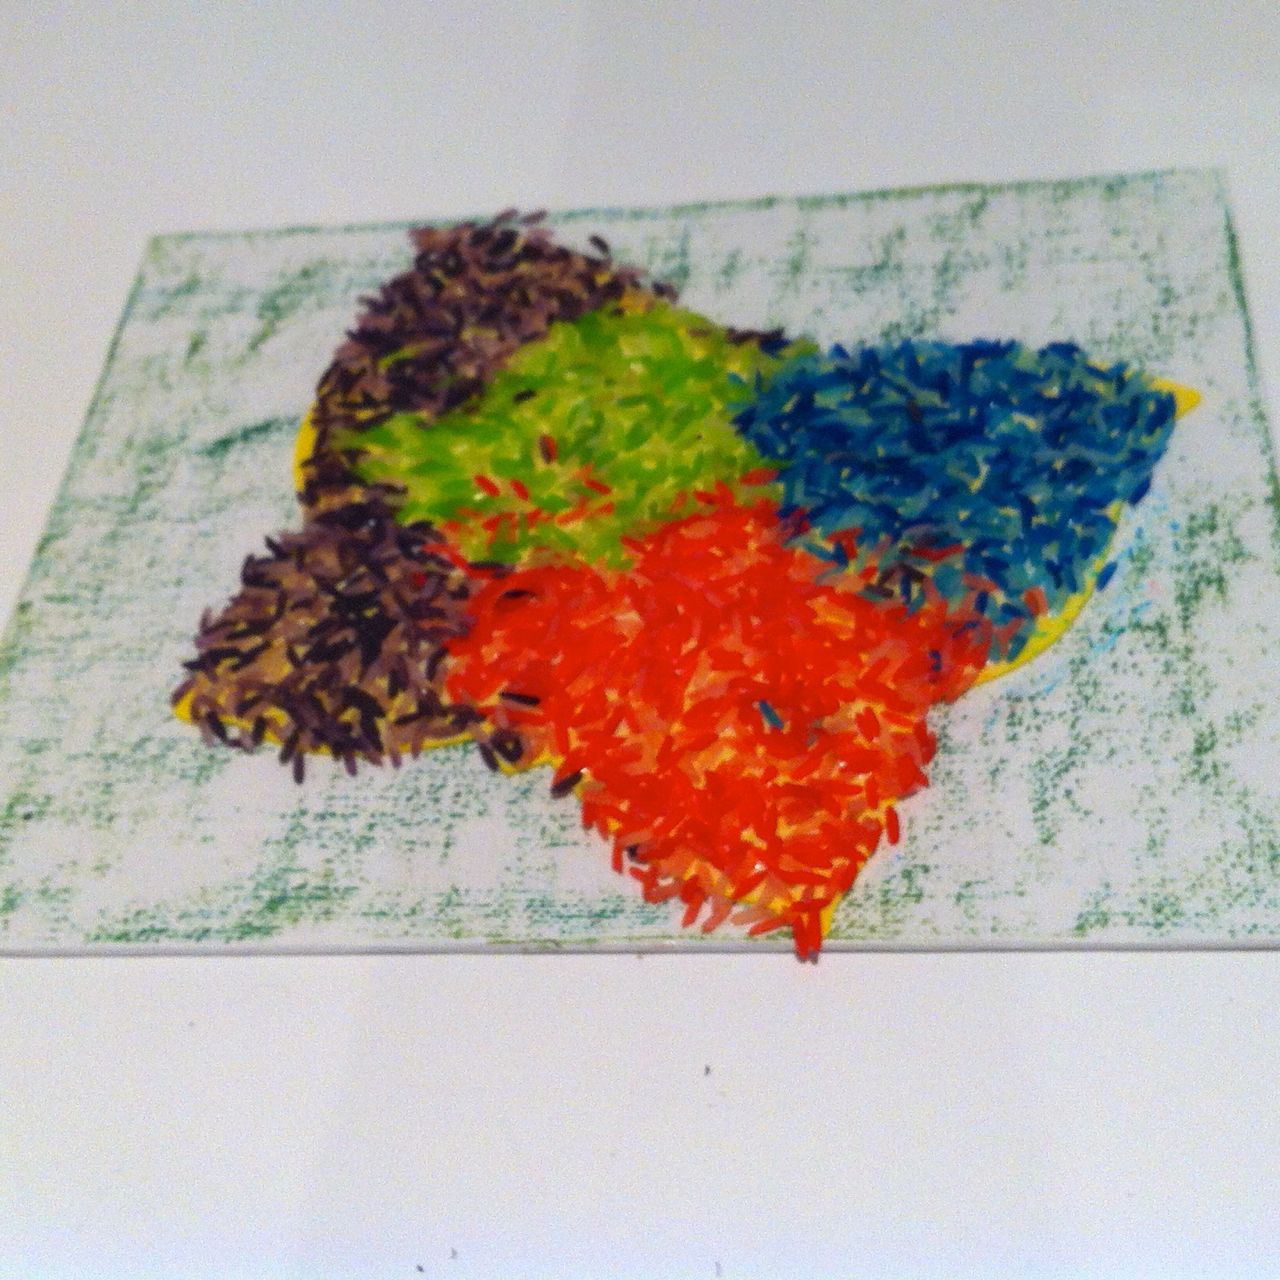
4. Sprinkle coloured rice over the glue-covered foam art shape - get creative and use as many colours as you'd like.

5. Pat down the rice, and allow the glue to set for a short time - a couple of minutes is more than enough.

6. Tip the canvas on it's edge and tap to dislodge all loose rice grains.

7. You may wish to spray a clear sealant after the glue has dried overnight.

Erin Marshall is an Angel Mama and a SAHW. Two days a week she uses her Amazing Auntie super powers to keep up with her 20-month old nephew, Xavier; the rest of her time is split between being an editor/proofreader, artist and blogger. 

Enhanced by Zemanta

Painting with water

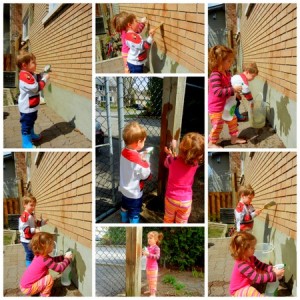
by Lara Sometimes I forget how simple fun can be for kids.  Now that it's getting warm out more often a great way to keep the kids busy outside for, potentially, a really long time is to let them paint with water.

A few paint brushes, a few spray bottles and a bucket of water = cheap fun, and they'll probably be distracted enough to let you get a little yard work done too!

Lara is mom to five year old Kiernan and two and a half year old boy/girl twins Quinn and Juliette. Between the kids and her social media consulting business, she spends most of her time running frazzled.

Flashback : Snow painting

We have so many wonderful posts with great ideas we like to bring some back now and then.  Here is a fun idea to go out and enjoy the snow that finally fell this year :) by Vicky

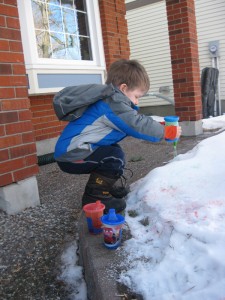
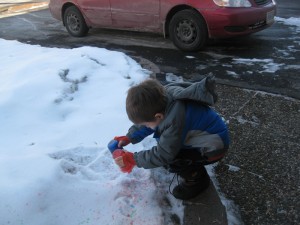
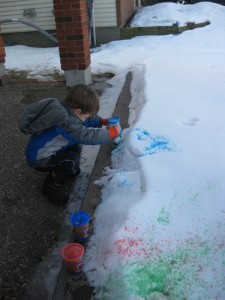
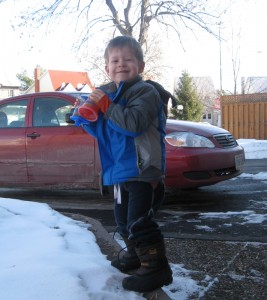
Here’s a fun little activity to do outside with your kids. Simply fill a some water bottles with water and a few drops of food colouring, and head outside to paint on the snow. Spray bottles and sippy cups also work really well!

You can experiment with different colours and painting techniques – try shaking a sippy cup upside down, or even swirling the water in the air before it lands on the snow.

Now since you can’t frame your masterpiece, make sure to take a picture of it instead!

Vicky is the mom to 4 year old son named Joel and 18 month old daughter named Mieka. You can read her blog at blog Some Kind of Mom.

Another rainy day, another rainy day activity

by Ezmy

Recently, we decided to spruce up Budsie’s bedroom. It’s all painted and has shiny new furniture and all that, but it was lacking in the picture department. But what to put up? So many of our framed pictures aren’t really meant for a kid’s room – I mean, does Budsie really care about Picasso or Van Gogh or that gorgeous Marilyn Monroe picture that we have? Not really.

Then one rainy day, we had a stroke of genius – Budsie could create his own artwork! I mean sure he’s not really able to draw but he can finger paint. Heck, 6 month olds can finger paint.

Taking it one step further, A. and I decided that we would all get in on the finger painting fun.

Note: you are never, EVER too old to finger paint. Don’t let anyone tell you differently.

Here are the results of a happy finger painting time. Budsie thoroughly enjoyed the feeling of finger paint on his hands. Another successful rainy day!

Ezmy is a new mum to son Ewan (aka Budsie). When she isn’t working on her master’s thesis, or playing games with her boy, she’s blogging furiously about life as a stay-at-home mum in our nation’s capital. Follow Ezmy on Twitter (@ezmytweets) where she posts daily resolutions and updates on life with an active and very vocal baby.

Tea for Two

by Josée B.G. and I wanted to do something crafty the other day, but our craft supplies were low. We decided to make some paper placemats that would be perfect for playing tea party. The only supplies required are two pieces of cardboard per placemat, scissors, glue, and something to decorate the placemats with.  If you like perfectly straight lines you'll also need a ruler.

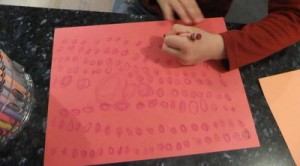
We started by drawing designs on our cardboard. You can get really creative here, just keep in mind that you'll be cutting both pieces of cardboard.

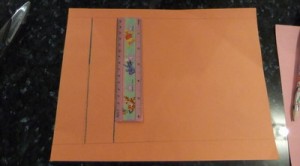
I then used a ruler to draw parallel lines along the width of the first piece of cardboard, stopping the lines about 1" from either edge:

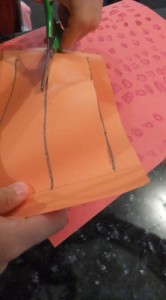
B.G. was able to cut along the lines once I started her off. Make sure not to cut right to the edge of the paper or you'll have to do a bit of a fix with some tape!

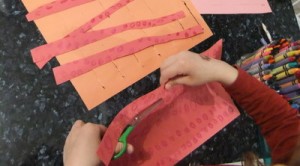
Cut the second piece of cardboard lenghtwise into strips. I didn't bother drawing lines for B.G. to follow; curvy strips actually create a nice effect, and you won't need every strip for the finished placemat, so there's room for error.

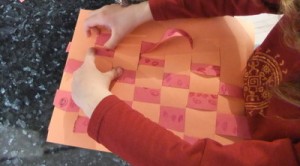
Using a basket-weave pattern, weave the strips into the first piece of cardboard:

We used glue to glue down the end pieces on both sides of the placemat, but tape would work equally well.

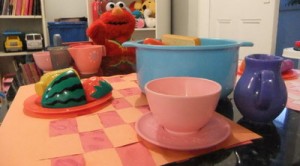
Once the glue dries, you've got colorful placemats for tea time!

Josée is mom to four-year old daughter B.G., and two-year old son Bonhomme.  She is always searching for fun and frugal Ottawa events and activities, and puts her research to good use at her website, www.frugalfunottawa.ca.

Enhanced by Zemanta