I’m sure everyone (those with or without children) struggles with weekday meals. A long work day and stressful commute can make meal preparation a challenge.
Thankfully there are solutions that don’t involve dinner-in-a-box or expensive take-out. It requires some hard work, and a bit of planning, but the end result is a freezer full of dinners for your hungry family.
1) The first step is to find some girl (or guy) friends who you wouldn’t want to murder with a kitchen knife after a long day of cooking. My friends and I have discovered that 4 people work well together, each being responsible for 3-4 meals.
2) The next step is to decide whose kitchen you will grace with your culinary disasters talents. This must be a big kitchen, with lots of counter space for chopping and preparing ingredients. It is also helpful if the host has all the gadgets (eg. food processor, good set of pots/pans, lots of knives etc.); but not essential, as other participants can bring their own stuff with them.
3) Follow a recipe!! Trying to create your own meals out of the blue is a recipe (hehe) for disaster. Our friend who started the whole tradition found this book at Chapters, which is what we follow:
4) Each choose 3-4 meals you would like to make, but have one person responsible for writing up the grocery list. Creating the master list can take a long time (e.g. wait, was that 15lbs of ground beef, or 50lbs?), so share the responsibility each time you do your cooking day.
5) Decide where to go shopping. Both times, we have gone to Costco, with a quick run to a regular grocery store for the extras. We also contribute our own ingredients – condiments and spices are most likely just lying around in your cupboards at home. Allocate at least 2-3 hours for shopping!
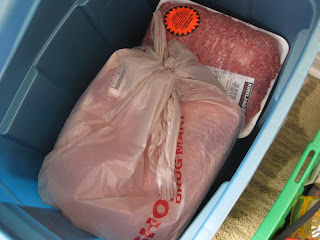 |
| Lotsa meat!! |
6) Decide where to store the food. This last time, we had the benefit of snow outside to keep our meat cold. But a cooking day in July can be challenging for finding fridge space for all the food!
7) Don’t forget to eat! Plan what you will do for a lunch break. We have found red wine to be very helpful in maintaining a calm atmosphere.
 |
| Donuts are an essential ingredient! |
The cookbook we use is designed specifically for this kind of cooking/storing. You can do this with 2, 4, 6 or 8 people (we have come to the conclusion that 8 people would be madness). I’ve noticed that some of the meals are big enough to feed my family twice, so if I end up with 10 meals in total, I actually have something close to 20 dinners!
Despite my caution against making up recipes “out of the blue,” we have experimented with some recipes we know and love. For example, my friend’s lasagna is a huge winner, so she makes up 4 giant lasagnas which are stored in tinfoil pans. I have also done a massive pot of chili and quinoa stew, and divided them amongst 4 freezer bags.
Our one complaint with this cookbook is that it is strictly meat-based meals. My husband is very happy about this, as he would eat meat all day if I let him! But if you are very health conscious, you may shy away from all the ground beef, chicken and pork, as well as the generous amounts of sugar and salt. My commitment to buying only local/organic meats goes out the window for these cooking days.
This is the reason why we have expanded to include our own vegetarian recipes, and our goal for next time is to try to do more of these, and less from the book. The focus on meat can also make it more expensive, as clearly, dried or canned legumes cost much less. But all in all, it has been a very positive experience, and has saved me many a-nights wondering what I need to do for dinner.
Costs
The grand total this time around was: $174 per person (family) for 11 meals*
The grand total last time was: $130 for about 8 meals (can’t remember the exact #)**
*don’t forget that the meals are large enough to last 2 nights
**as a gift to our pregnant friends (1 last time, and 1 this time), 3 of us picked up the bill, which allowed us to give the gift of food to a new family. A great baby shower gift idea!!
Other Hints/Tips
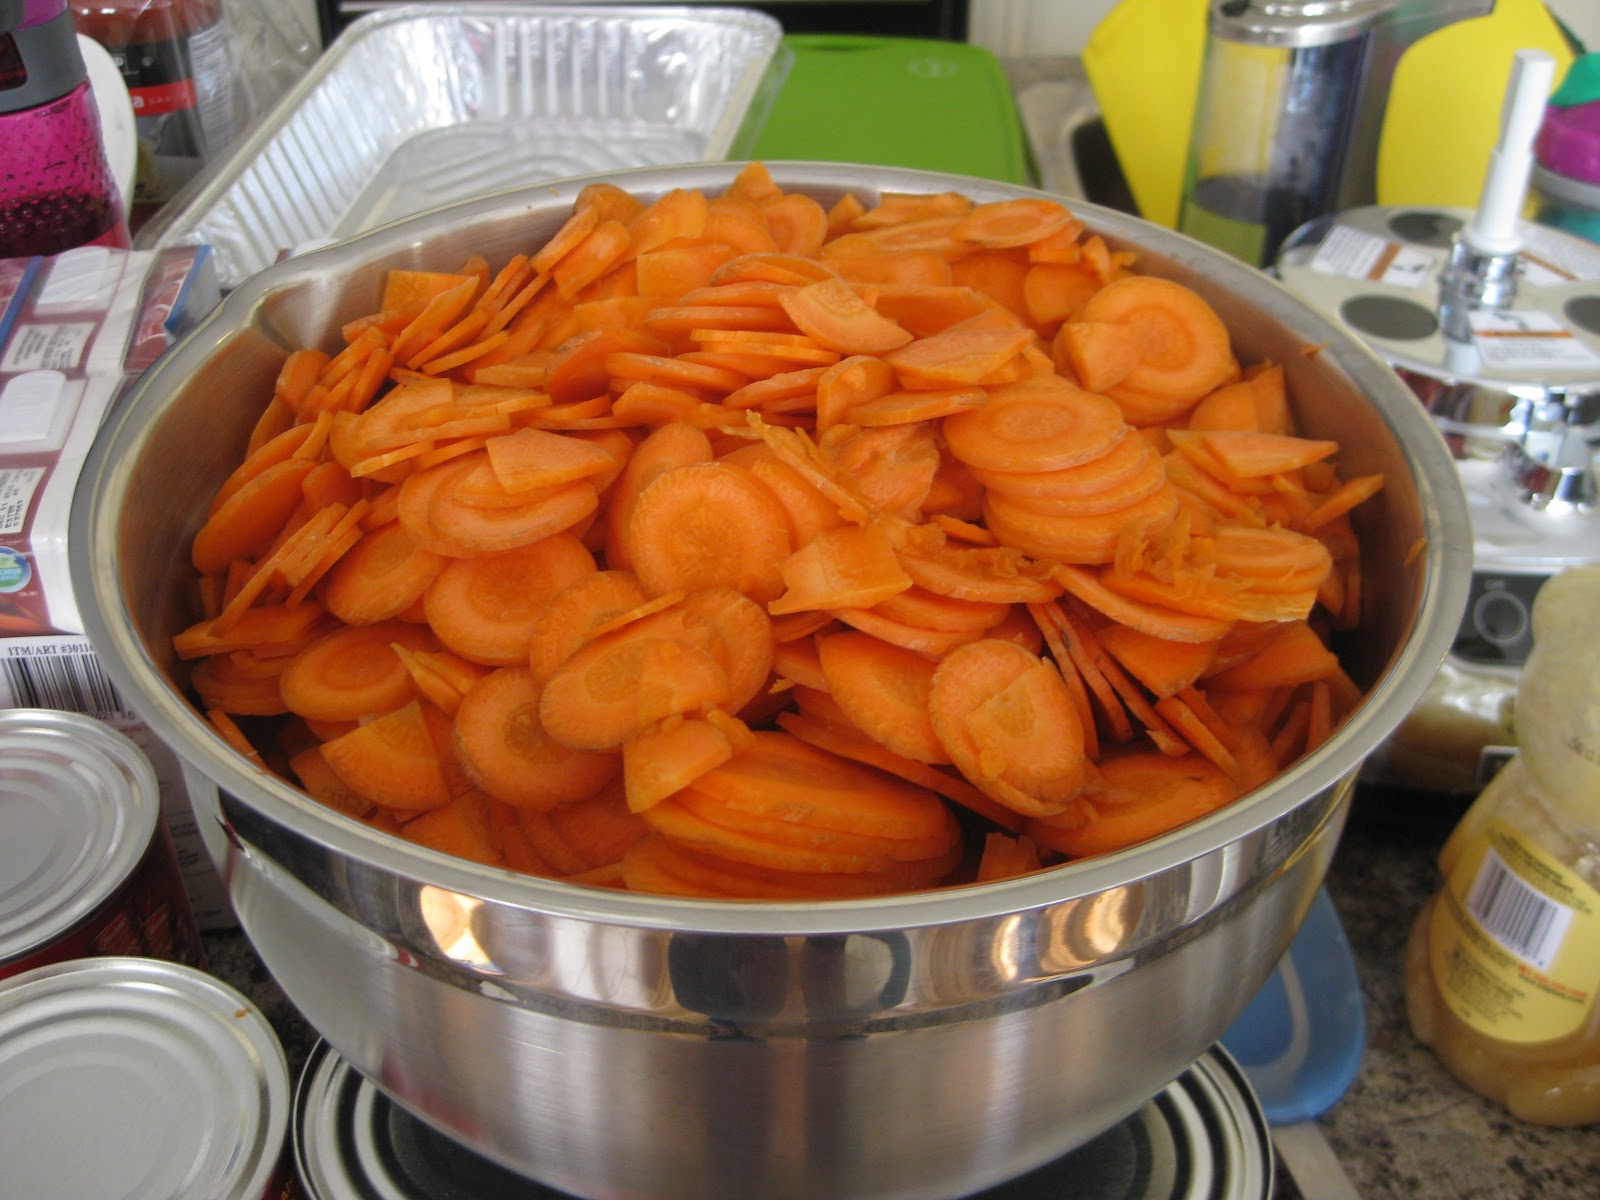
- most recipes call for chopped onion or carrots. Do ALL of the onions and carrots beforehand in a food processor. Saves on a lot of time, and any leftovers can be packed in freezer bags for future use. One mom took our leftover carrots to make baby food!
- This takes us about 6 hours, with a break for lunch. So plan for 9am – 3pm
- Bring some grocery bins or big boxes with you to carry your food home. Some things need to remain upright (lasagna) so that they don’t squish or spill.
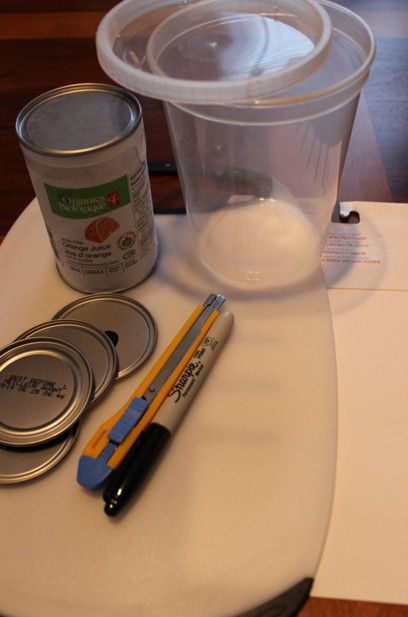
- Make photocopies of the recipes and cooking instructions, and staple a copy to each bag. This helps to avoid the “what the heck is that!?” question two months down the road.
- oh, and have fun!!!