
Rice Art
/by Erin
I like to do glitter art with my niece Rhen - you know the kind: draw an image, spread some glue over a part of the image, sprinkle an appropriately colour glitter on the glue, continue with other parts/colours until the image is complete.
Rhen is in school now, and Xavier comes over two days a week to spend the day with Auntie Erin. Xavier is only 20 months old, and glitter is a bit beyond his skill set; instead of making art, we wind up just making a HUGE mess that is impossible to vacuum up afterwards. Another major concern I have about using glitter with very young children: the particles are too fine and could pose a choking hazard if they are ingested or inhaled.
Introducing rice art:
Step 1: Using the technique in the Rice Sandbox Tutorial make some coloured rice.
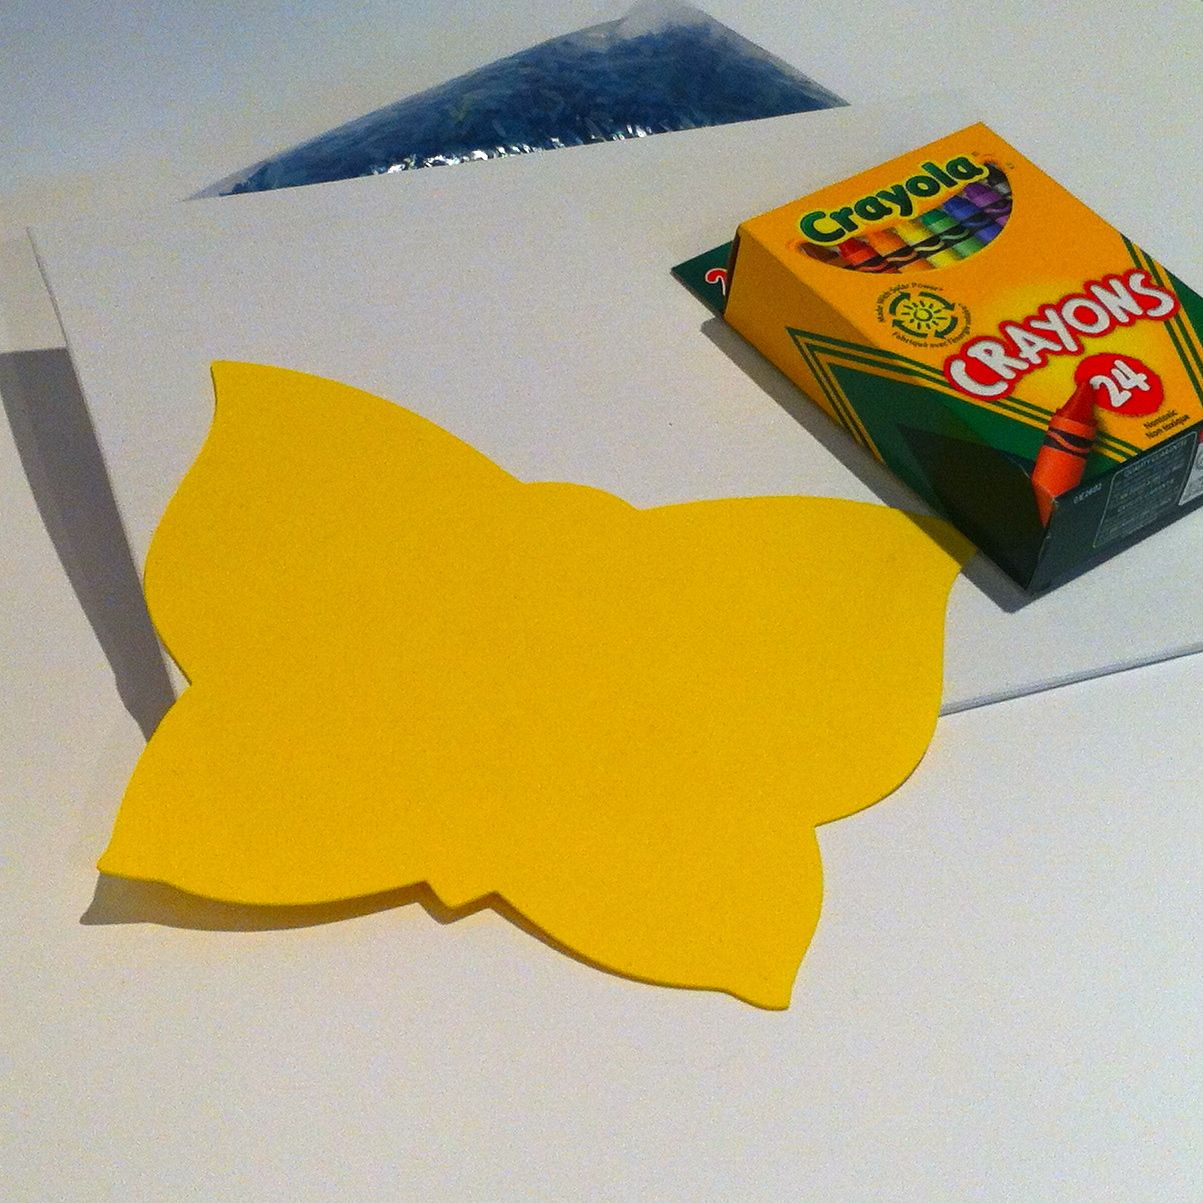
Other materials required: a small canvas board, a foam art shape, crayons, coloured pencils, markers or paint, craft glue.
Depending on the child's skill level you will need to help with some or all of the steps.
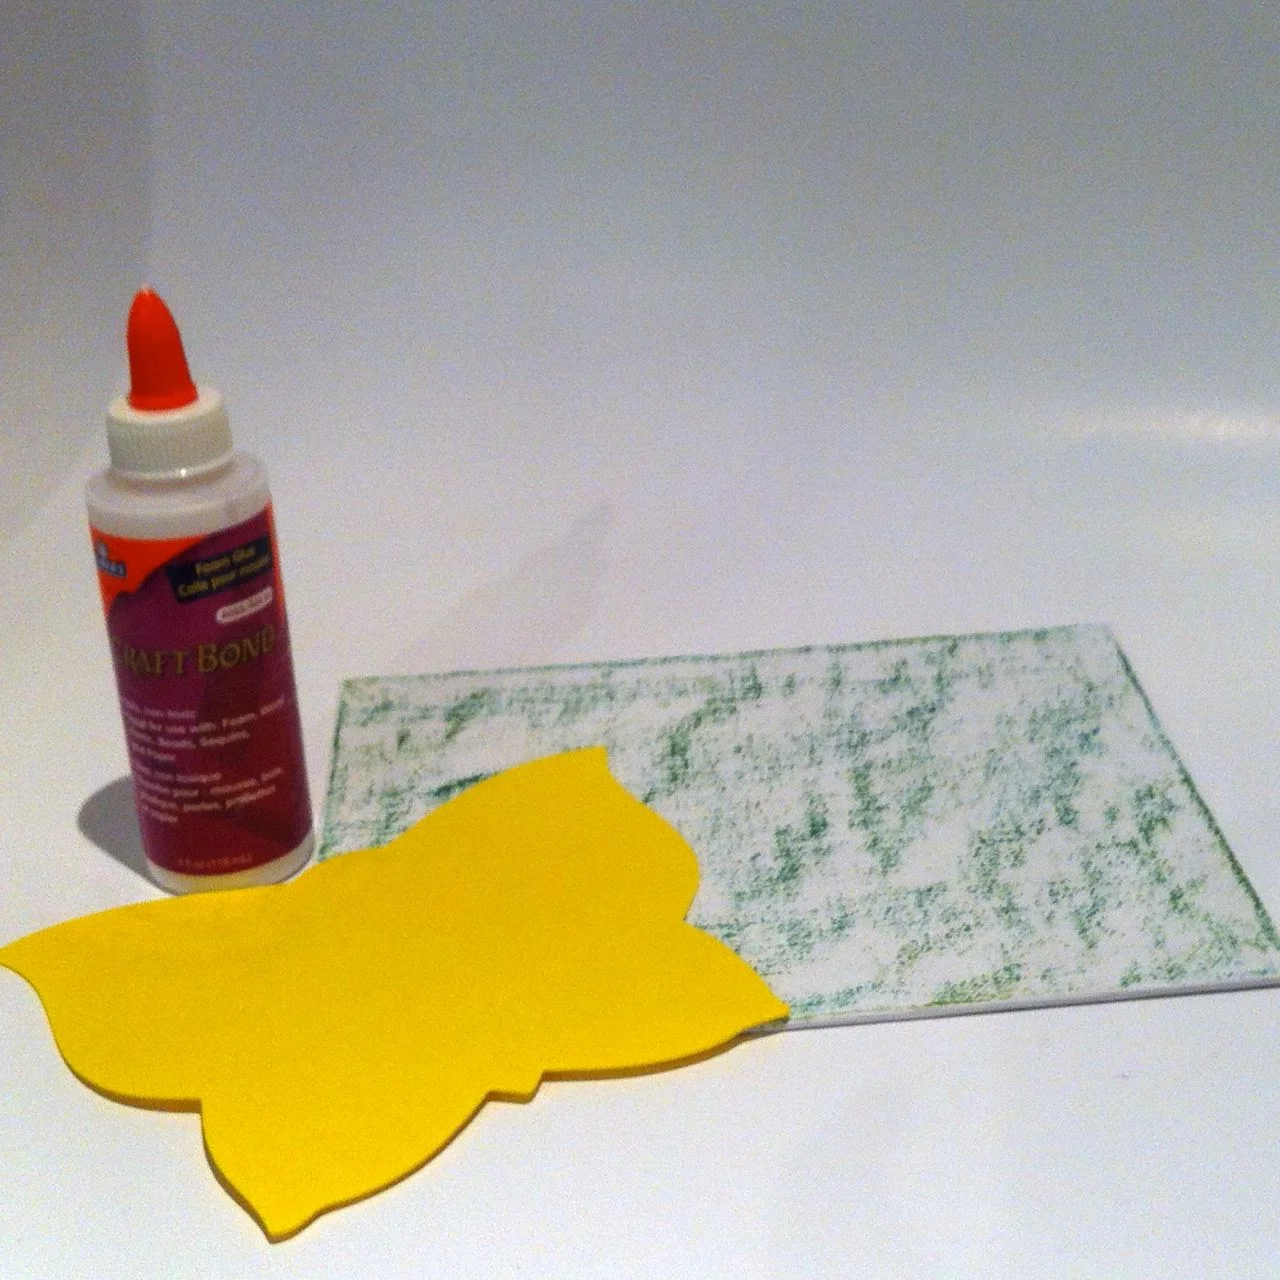
- Use the crayons, coloured pencils, markers or paint to create a background on the canvas board. If using markers or paint, allow to dry completely before moving on to the next steps.

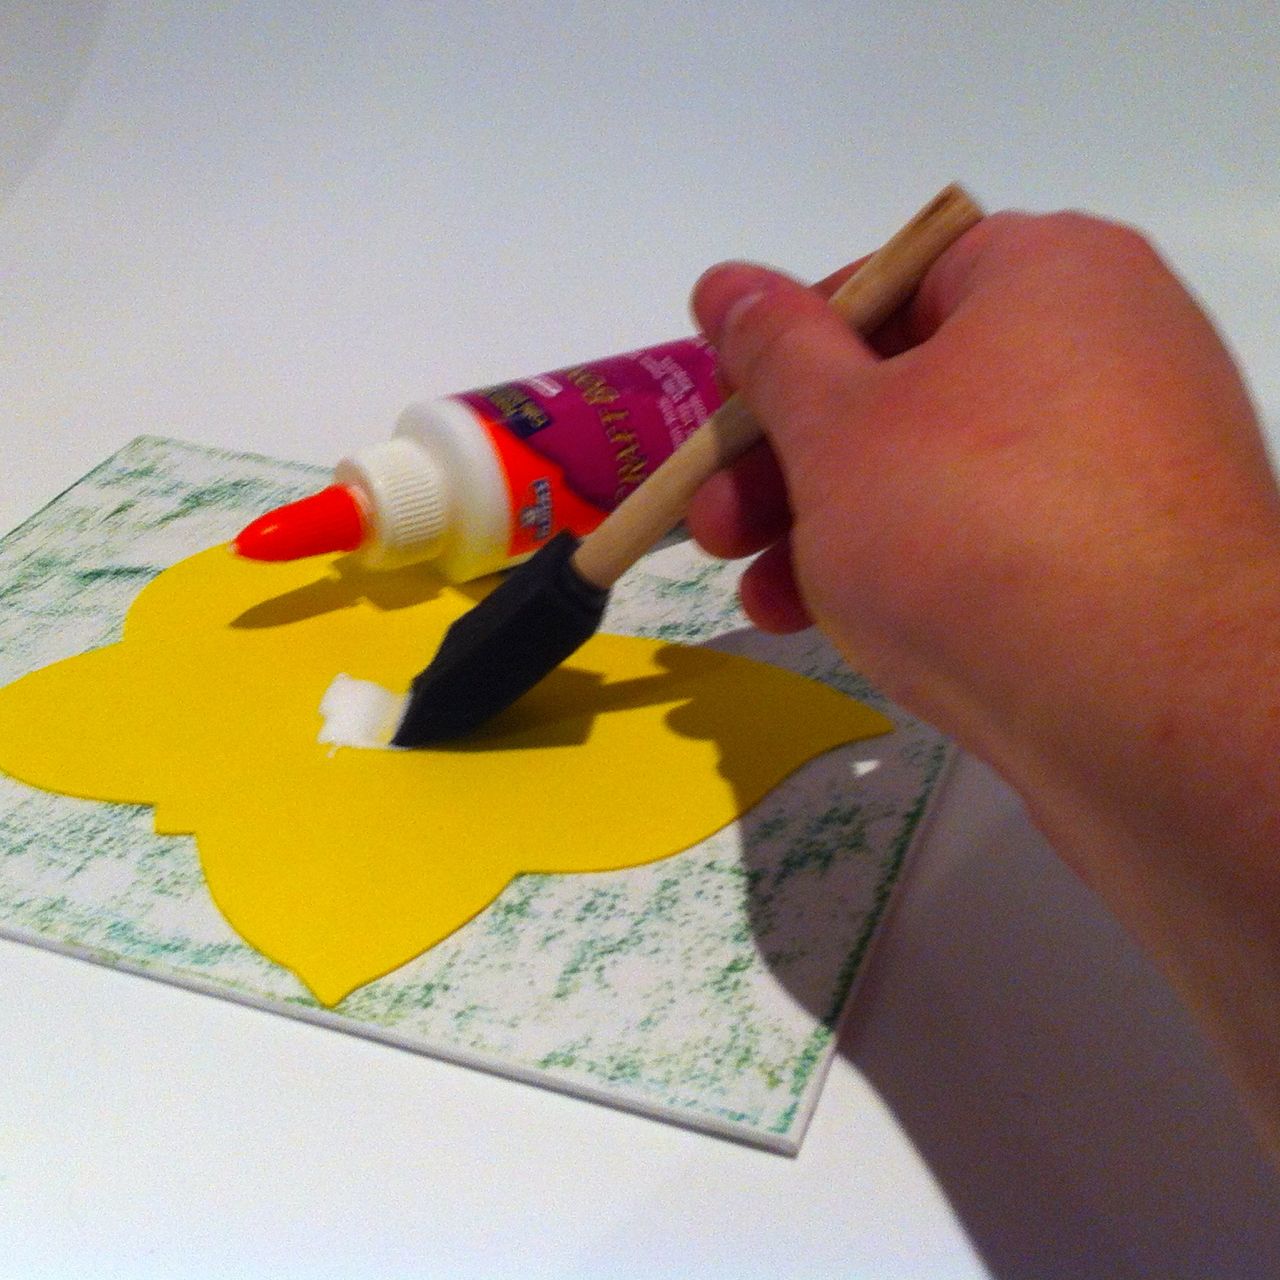
2. Adhere the foam art shape to the canvas board with craft glue.
3. Spread a generous layer of craft glue over the foam art shape.
4. Sprinkle coloured rice over the glue-covered foam art shape - get creative and use as many colours as you'd like.

5. Pat down the rice, and allow the glue to set for a short time - a couple of minutes is more than enough.

6. Tip the canvas on it's edge and tap to dislodge all loose rice grains.

7. You may wish to spray a clear sealant after the glue has dried overnight.

Erin Marshall is an Angel Mama and a SAHW. Two days a week she uses her Amazing Auntie super powers to keep up with her 20-month old nephew, Xavier; the rest of her time is split between being an editor/proofreader, artist and blogger.


