Rice Art

by Erin

I like to do glitter art with my niece Rhen - you know the kind: draw an image, spread some glue over a part of the image, sprinkle an appropriately colour glitter on the glue, continue with other parts/colours until the image is complete.

Rhen is in school now, and Xavier comes over two days a week to spend the day with Auntie Erin. Xavier is only 20 months old, and glitter is a bit beyond his skill set; instead of making art, we wind up just making a HUGE mess that is impossible to vacuum up afterwards. Another major concern I have about using glitter with very young children: the particles are too fine and could pose a choking hazard if they are ingested or inhaled.

Introducing rice art:

Step 1: Using the technique in the Rice Sandbox Tutorial make some coloured rice.

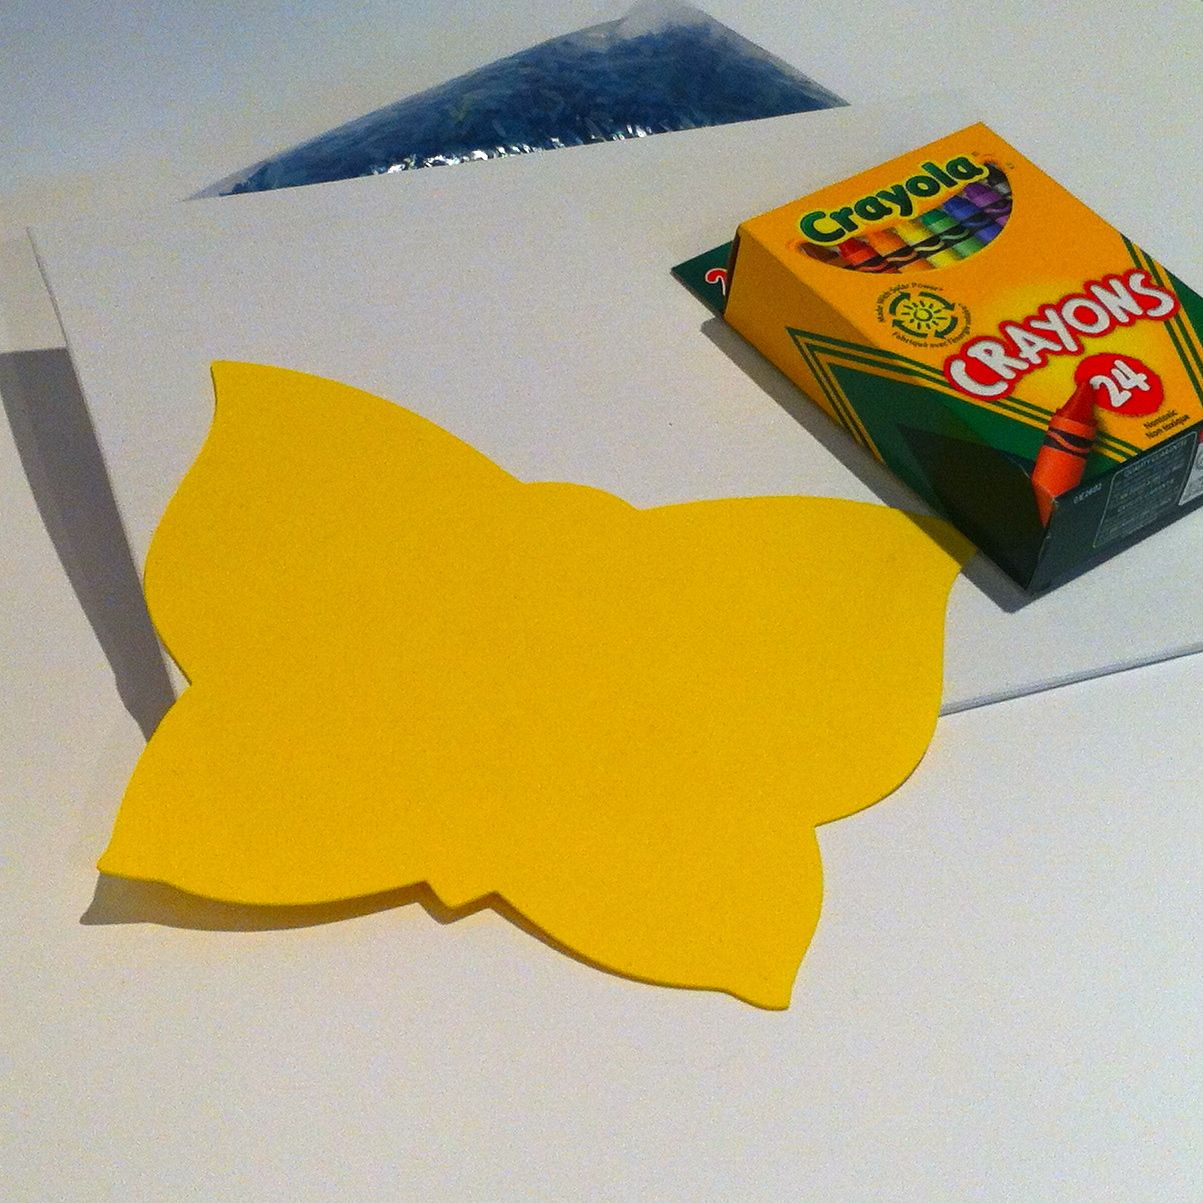
Other materials required: a small canvas board, a foam art shape, crayons, coloured pencils, markers or paint, craft glue.

Rice Art1
Rice Art1

Depending on the child's skill level you will need to help with some or all of the steps.

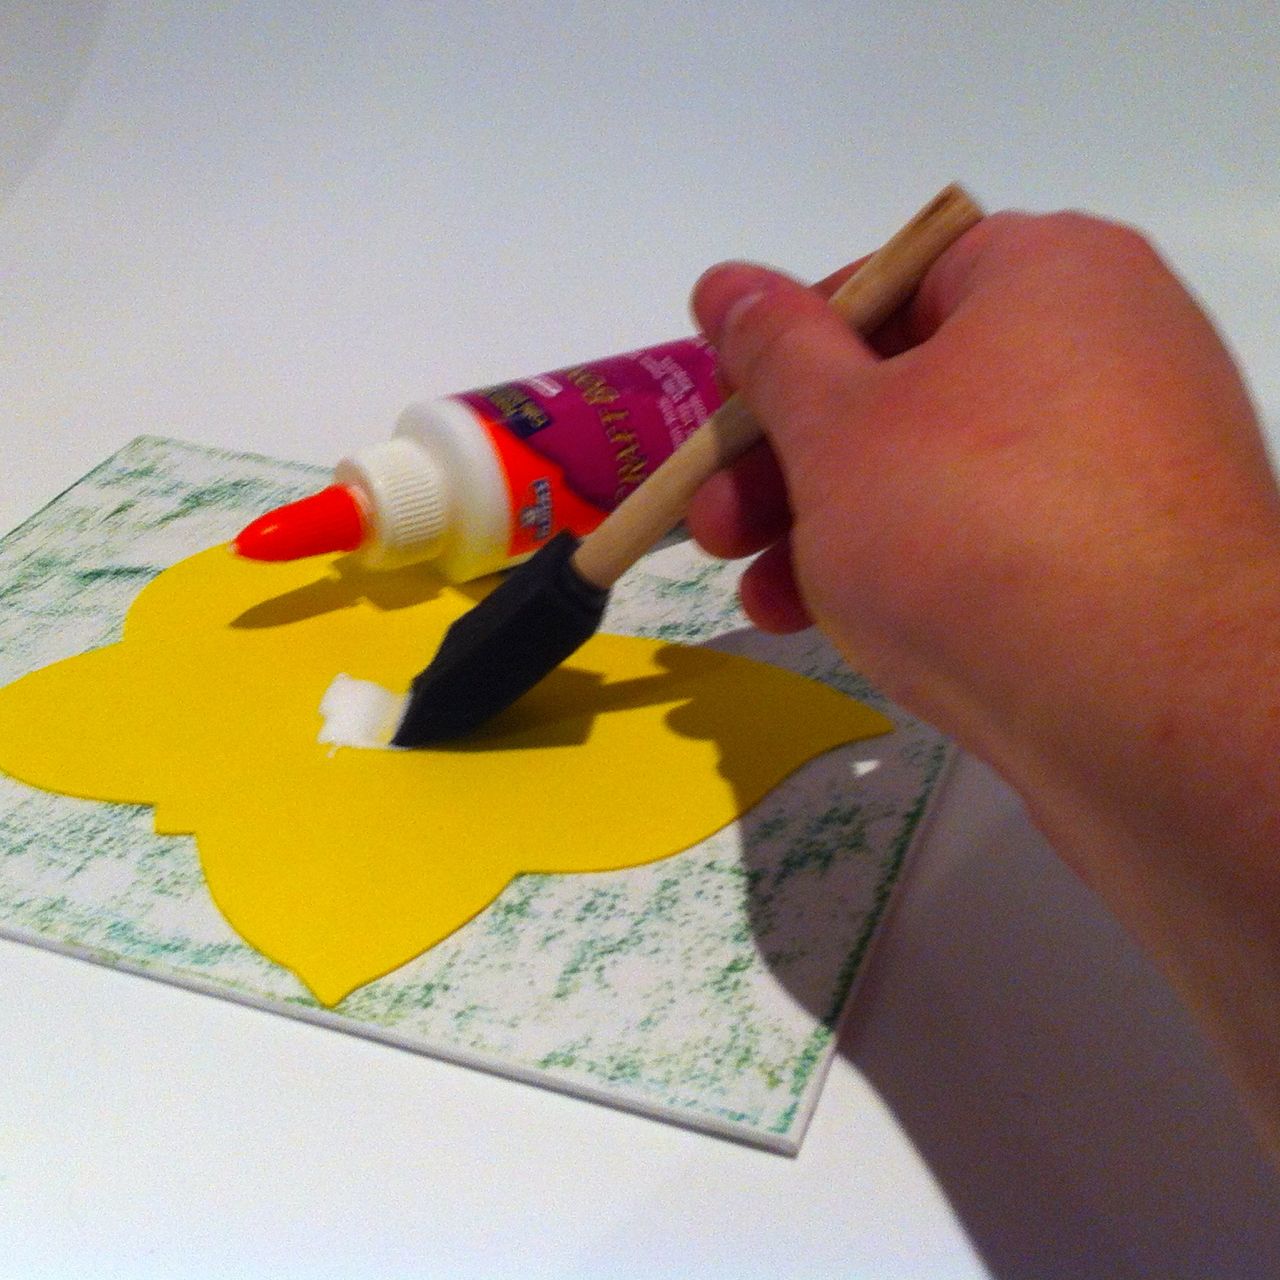
  1. Use the crayons, coloured pencils, markers or paint to create a background on the canvas board. If using markers or paint, allow to dry completely before moving on to the next steps.

2. Adhere the foam art shape to the canvas board with craft glue.

3. Spread a generous layer of craft glue over the foam art shape.

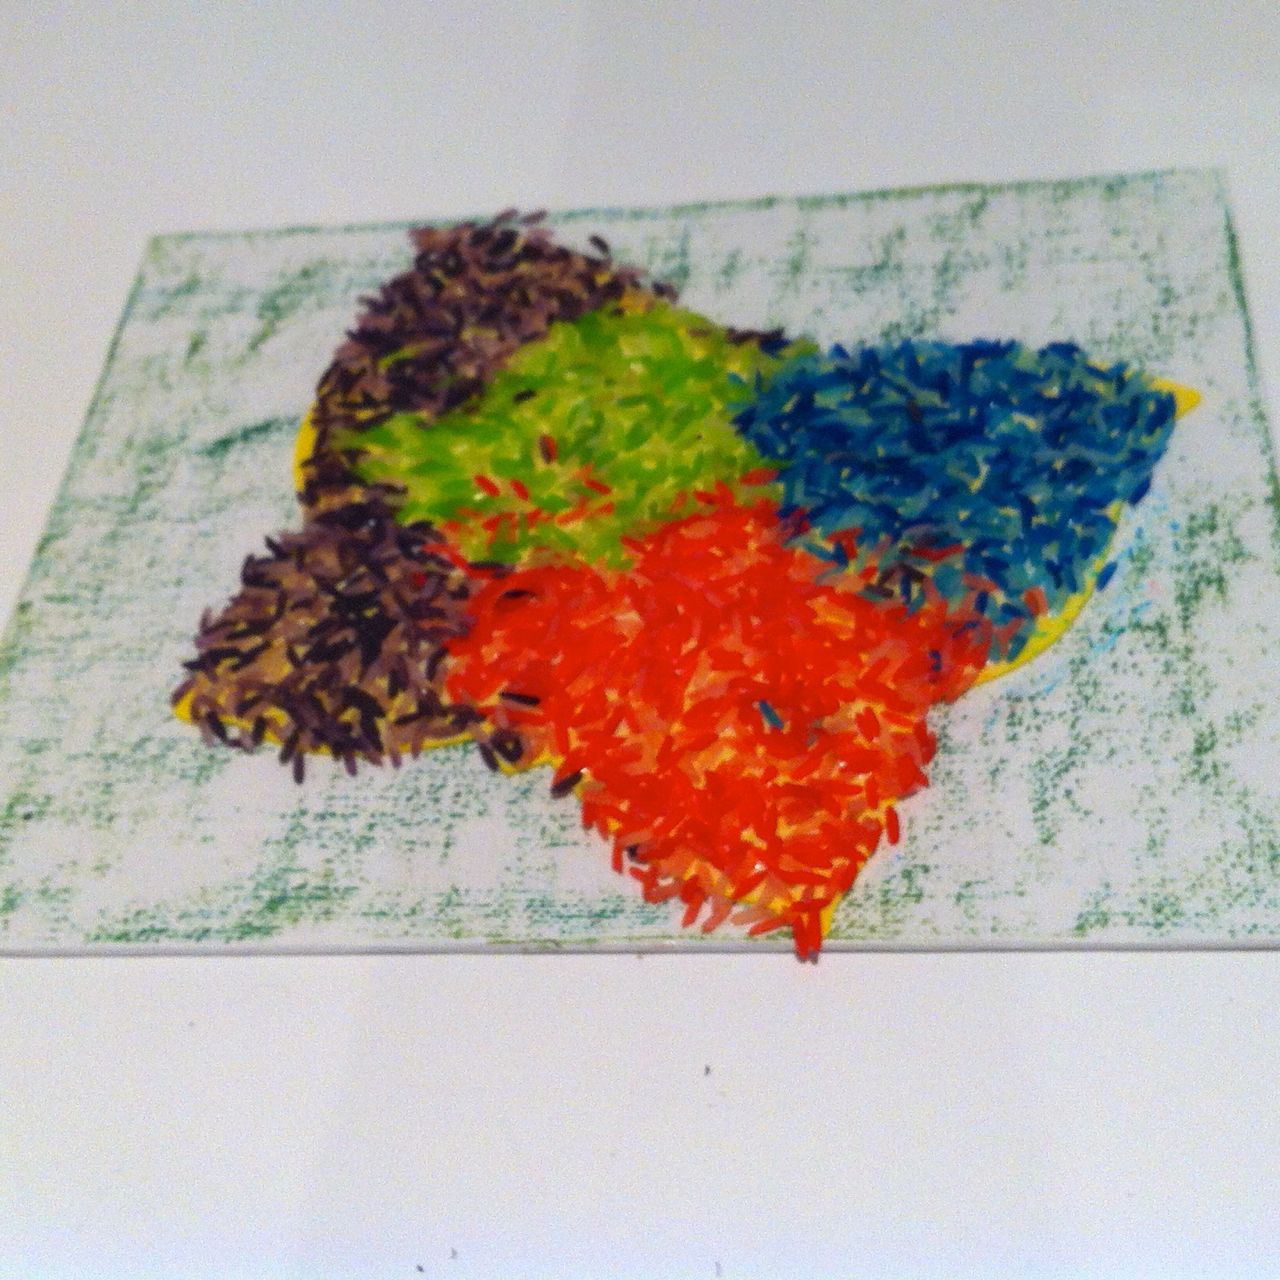
4. Sprinkle coloured rice over the glue-covered foam art shape - get creative and use as many colours as you'd like.

5. Pat down the rice, and allow the glue to set for a short time - a couple of minutes is more than enough.

6. Tip the canvas on it's edge and tap to dislodge all loose rice grains.

7. You may wish to spray a clear sealant after the glue has dried overnight.

Erin Marshall is an Angel Mama and a SAHW. Two days a week she uses her Amazing Auntie super powers to keep up with her 20-month old nephew, Xavier; the rest of her time is split between being an editor/proofreader, artist and blogger. 

Enhanced by Zemanta

Rice Sand Box

by Erin

The end of outdoor sandbox weather is sadly on it's way.  Here's an idea on how to keep sandbox fun going all year round.

Making the rice

Just a quick note: we are using rice and food colouring for this project. Both are non-toxic and edible, although young children should still be monitored since ingesting even a few tablespoons of uncooked rice can be dangerous. A few grains won't harm anyone, though.

Get some rice - LOTS of rice. I only used 4 x 600g bags, but for a "sandbox" you'll need 10-15 times that. I suggest you go to Costco.

You'll want about ¾ of a bottle of food colouring for every 500g of rice. The more food colouring you use, the brighter and deeper the colours you'll wind up with - if you want muted pastels, use ½ a bottle or less. You can also mix the food dye for custom colours, you're really only limited by your imagination and your patience. For this sample, I used the Neon stuff.

Rice Sandbox1
Rice Sandbox1

Essentially, we'll be combining the food colouring with the (uncooked) rice and kneading it to spread it through as many of the grains as possible. A plastic zippered food storage bag comes in VERY handy for this step.

Rice Sandbox2
Rice Sandbox2

TIPS:

  • Adding the food colouring to the bag before adding the rice makes it easier to get good coverage (as opposed to what is shown in my image).
  • Dye the rice in small batches, DO NOT overfill the zippered bag.
  • Dollar store zippered bags won't cut it for this activity, you'll need something sturdier.
  • Allow rice to dry completely before touching it with bare hands. The food dye will come off on your fingers and stain your clothes.
Rice Sandbox3
Rice Sandbox3

Repeat this procedure as necessary. You'll want to use a fresh zippered bag for each batch. You might want to consider dyeing ½ the rice and leaving the rest un-dyed, for the sake of saving some time, and your sanity.

Containing the rice

Rice Sandbox6
Rice Sandbox6

So now that you have made a rainbow of rice grains, dump any un-dyed rice into the bottom of a large, shallow plastic storage container. I like the ones designed for underbed storage because they have little casters making set up and put away easier on my back. Next, add all the coloured rice, you can either dump it all in, or you can artistically arrange it, as I did in the sample container.

Rice Sandbox4
Rice Sandbox4

Playing with the rice

I set the sandbox up with typical toys: shovel, pail, dump truck, animal figurines. The toys you add will depend on the age of the child(ren) playing in the sandbox.

Obviously, the colours will not stay separated, but we're not creating an art installation here. Unless that's what you really want, in which case, place your container out of the reach of children, and cats. Seriously about the cats, you do not want to ever leave the sandbox uncovered and unattended. Trust me.

After playtime is over, you will have to vacuum up some stray rice grains.

Rice Sandbox5
Rice Sandbox5

Reserve a half cup of each colour to use in future art projects - think glitter, but WAY less messy.  I have another post coming soon on what you can do with this batch of rice.

UPDATED TO ADD: "I found out that you can add a few teaspoons of rubbing alcohol to the food colouring to make kneading it through the rice grains easier. It also decreases the drying time before you can play with the rice without danger of staining your fingers and/or clothing."

Erin Marshall is an Angel Mama and a SAHW. Two days a week she uses her Amazing Auntie super powers to keep up with her 20-month old nephew, Xavier; the rest of her time is split between being an editor/proofreader, artist and blogger. 

Enhanced by Zemanta